Getting started with pCDN
As an API gateway, the pCDN uses routes to direct API traffic to different destinations depending on your upstream configuration. Routes are the gateway/entry point for all these requests.
This guide will walk you through the following tasks to get you started using pCDN:
- Configuring a route
- Setting up load balancing
You can create a route using the GUI or via the Stargate REST API
Prerequisite(s)
- A Stargate instance. Contact the Macrometa team for your Stargate server and login details.
Step 1: Configuring a route
To create a route:
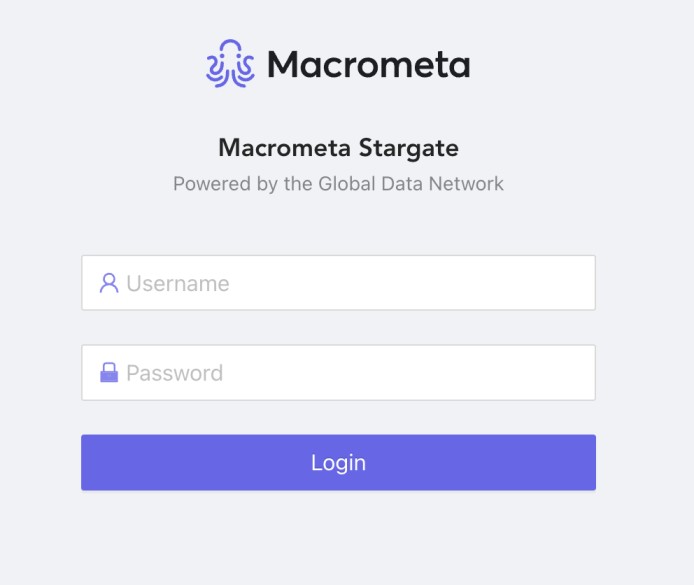
Login to your Stargate instance.
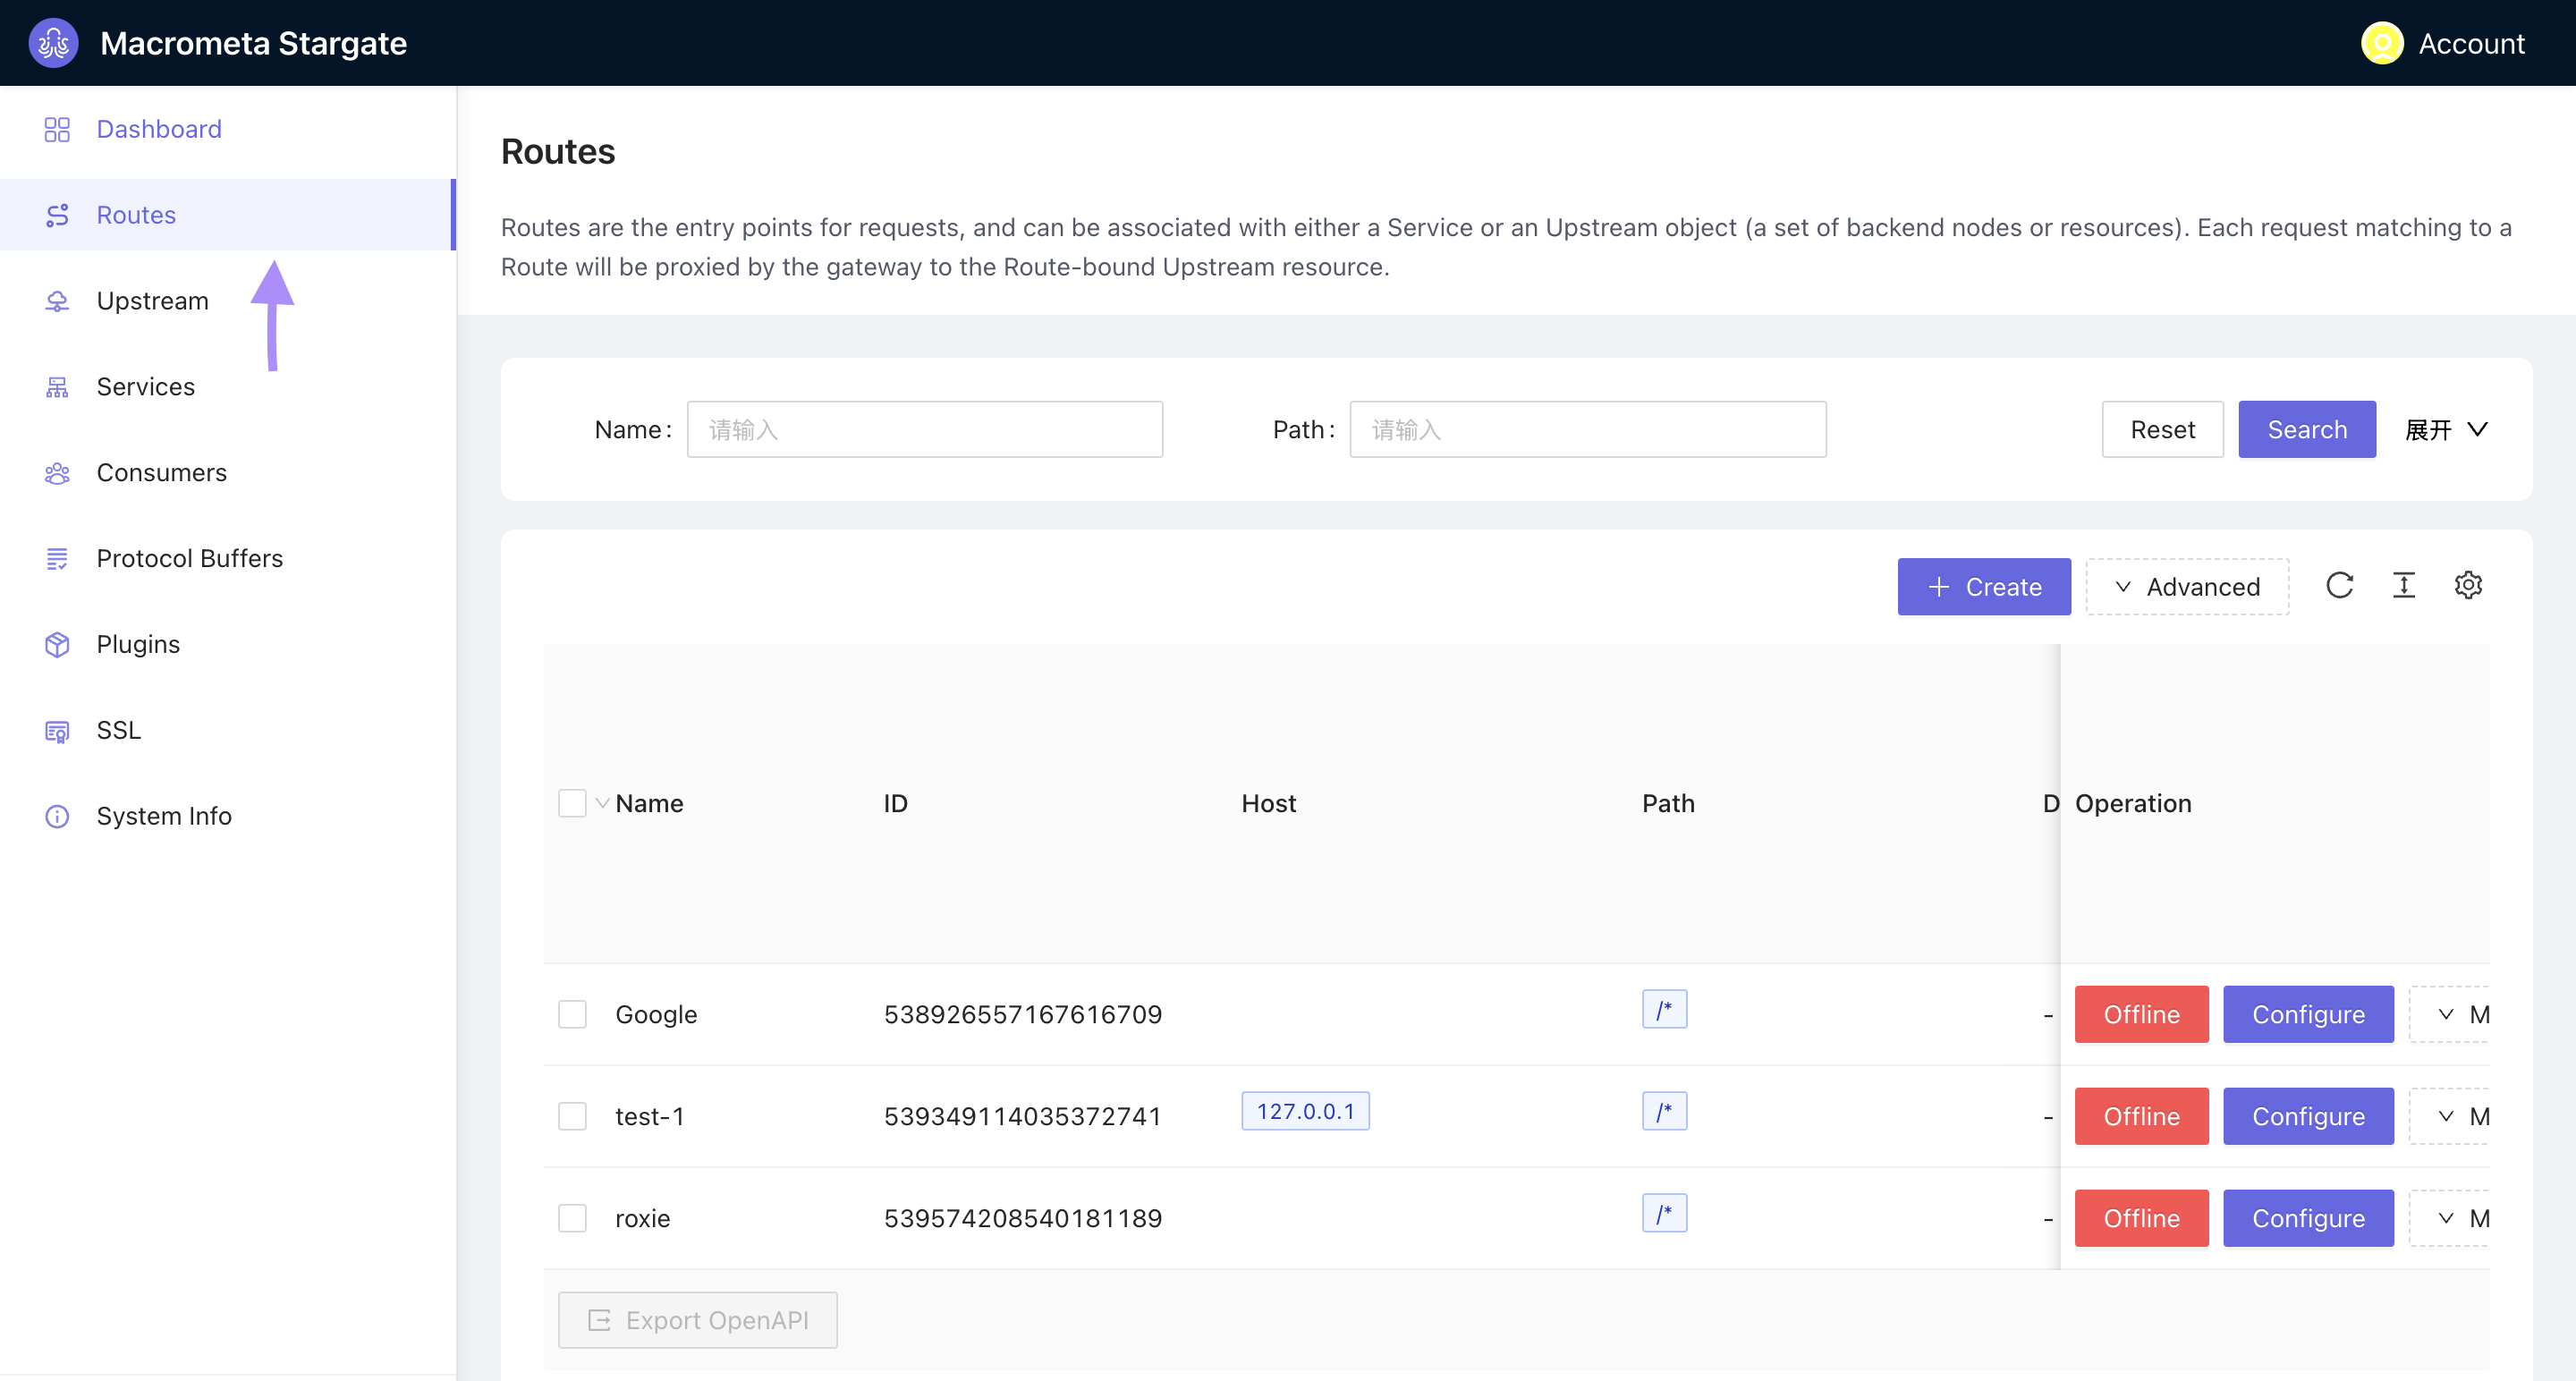
Navigate to Routes from the Dashboard.
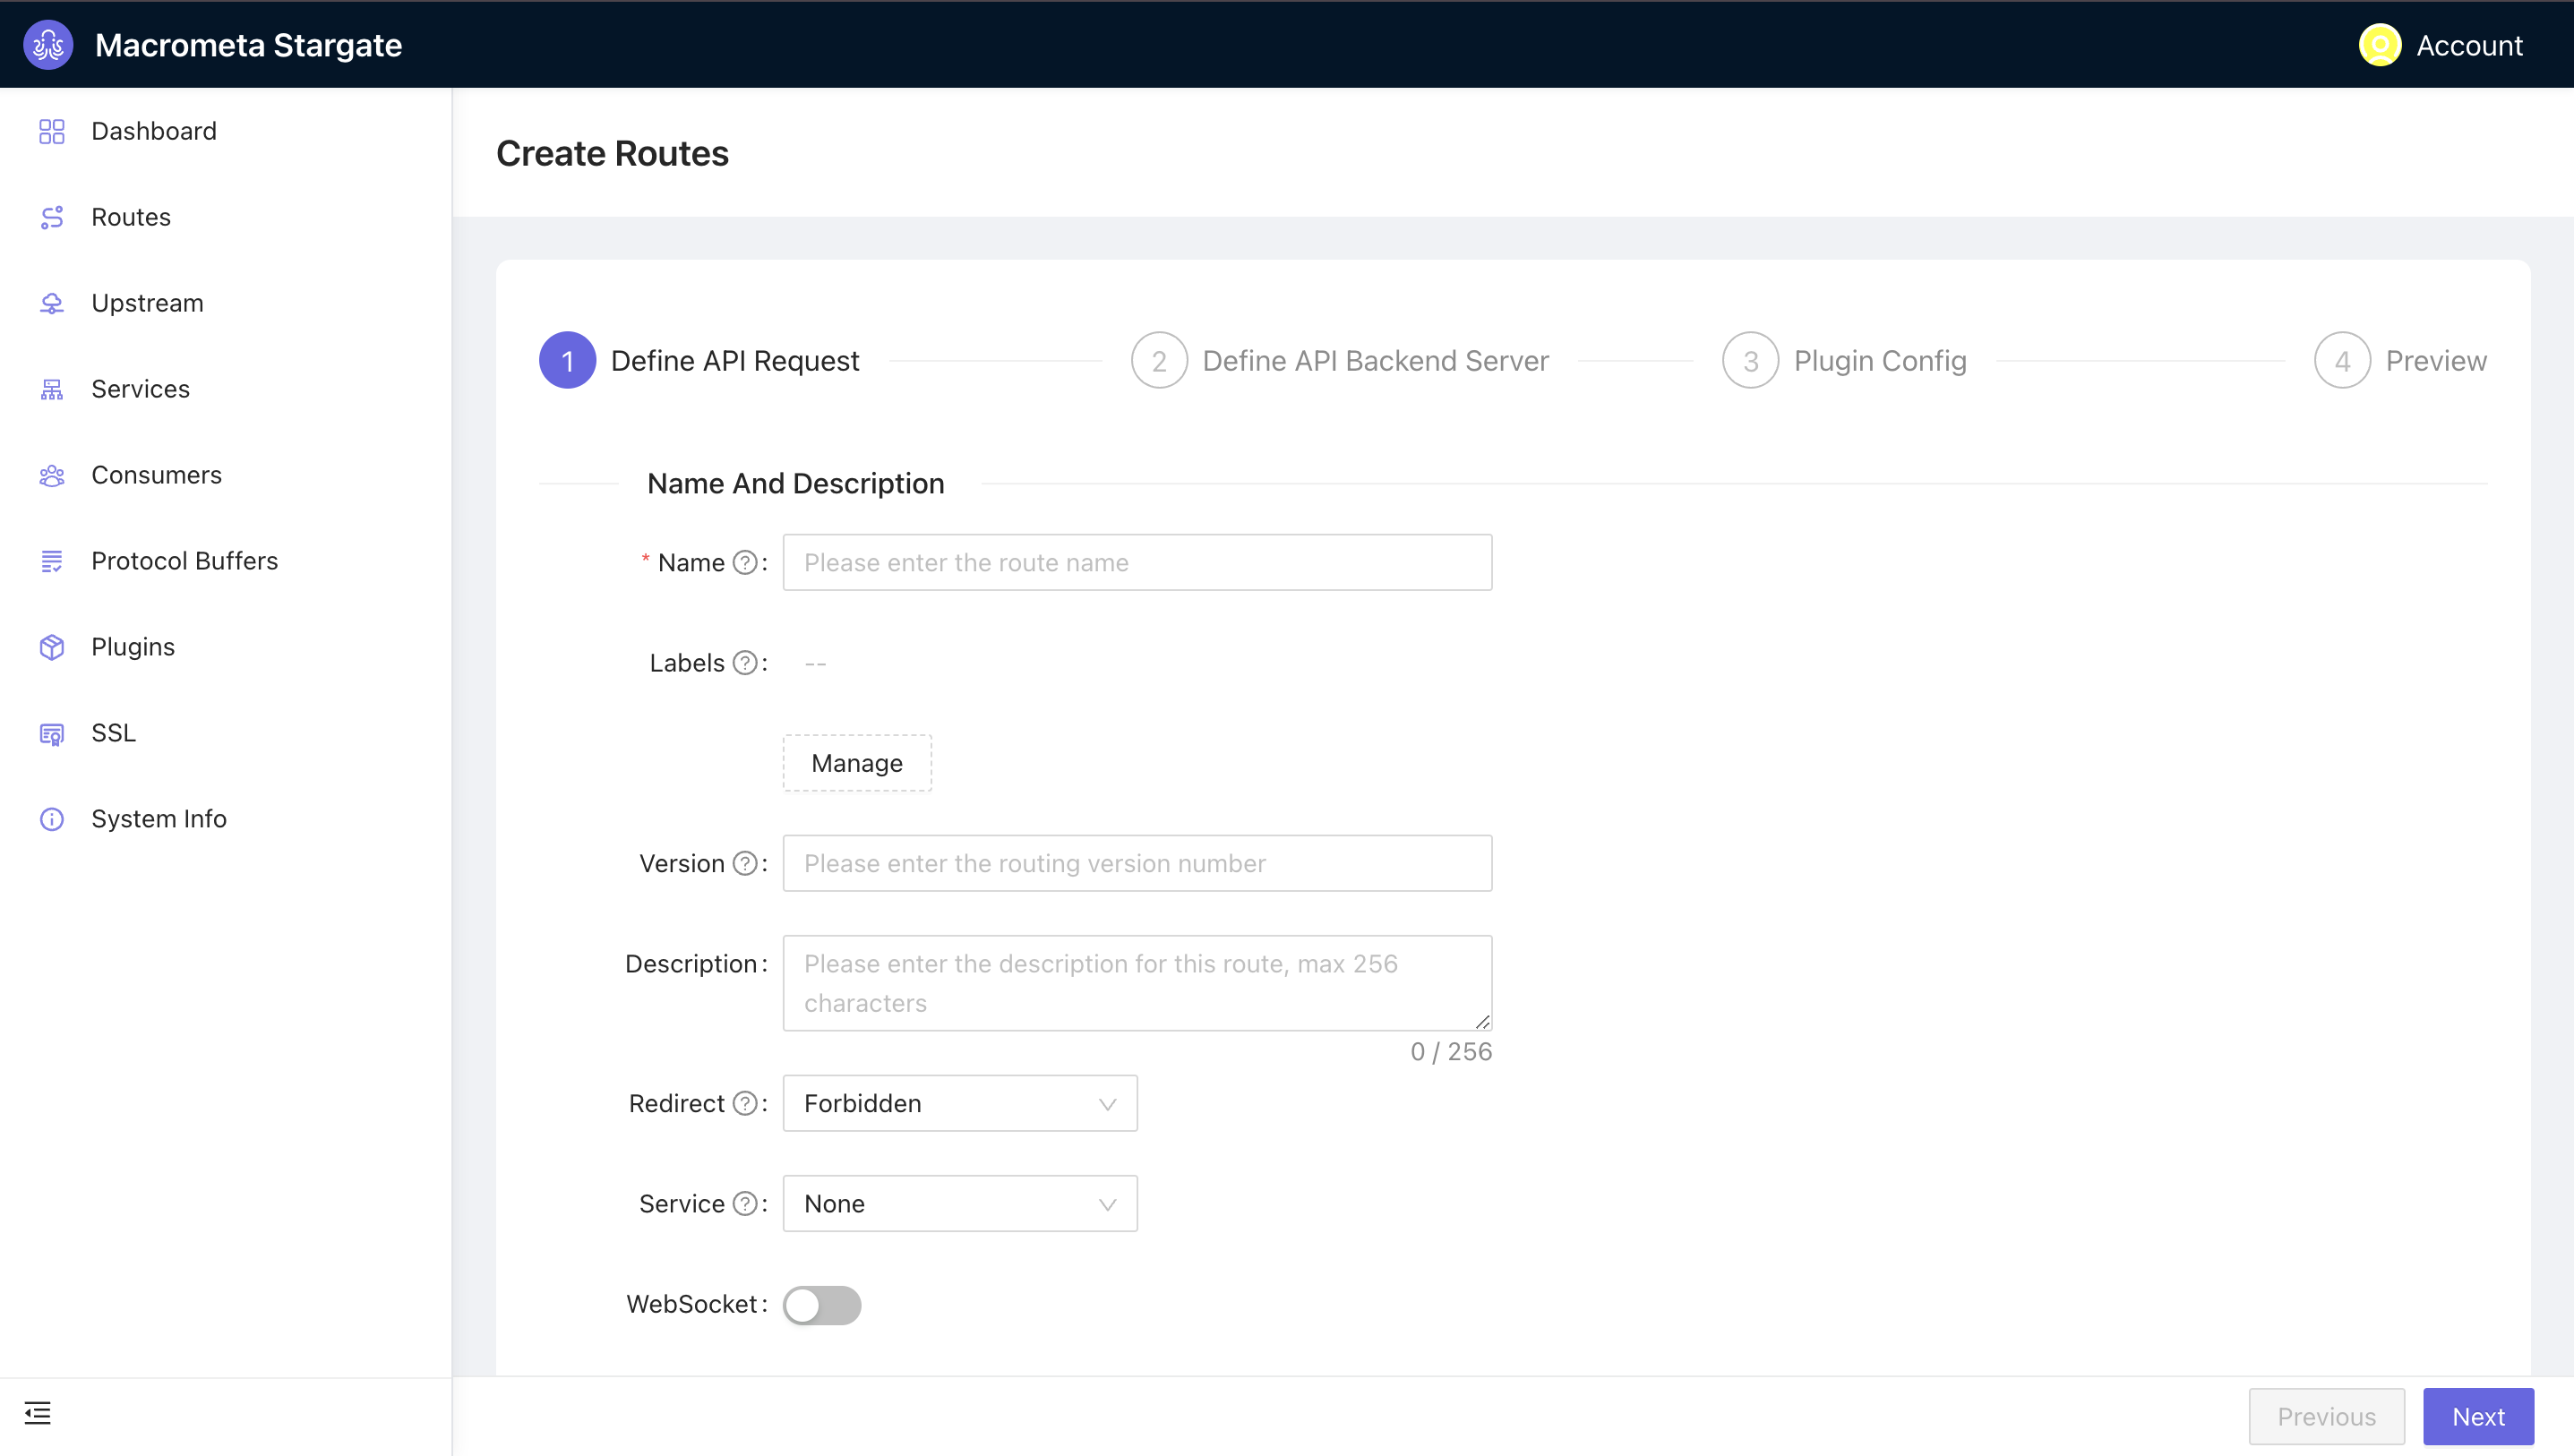
Click +Create . Follow these four-step process to configure a route:
Define API request: Enter a name for your route. Other fields in this step are optional. Click Next.
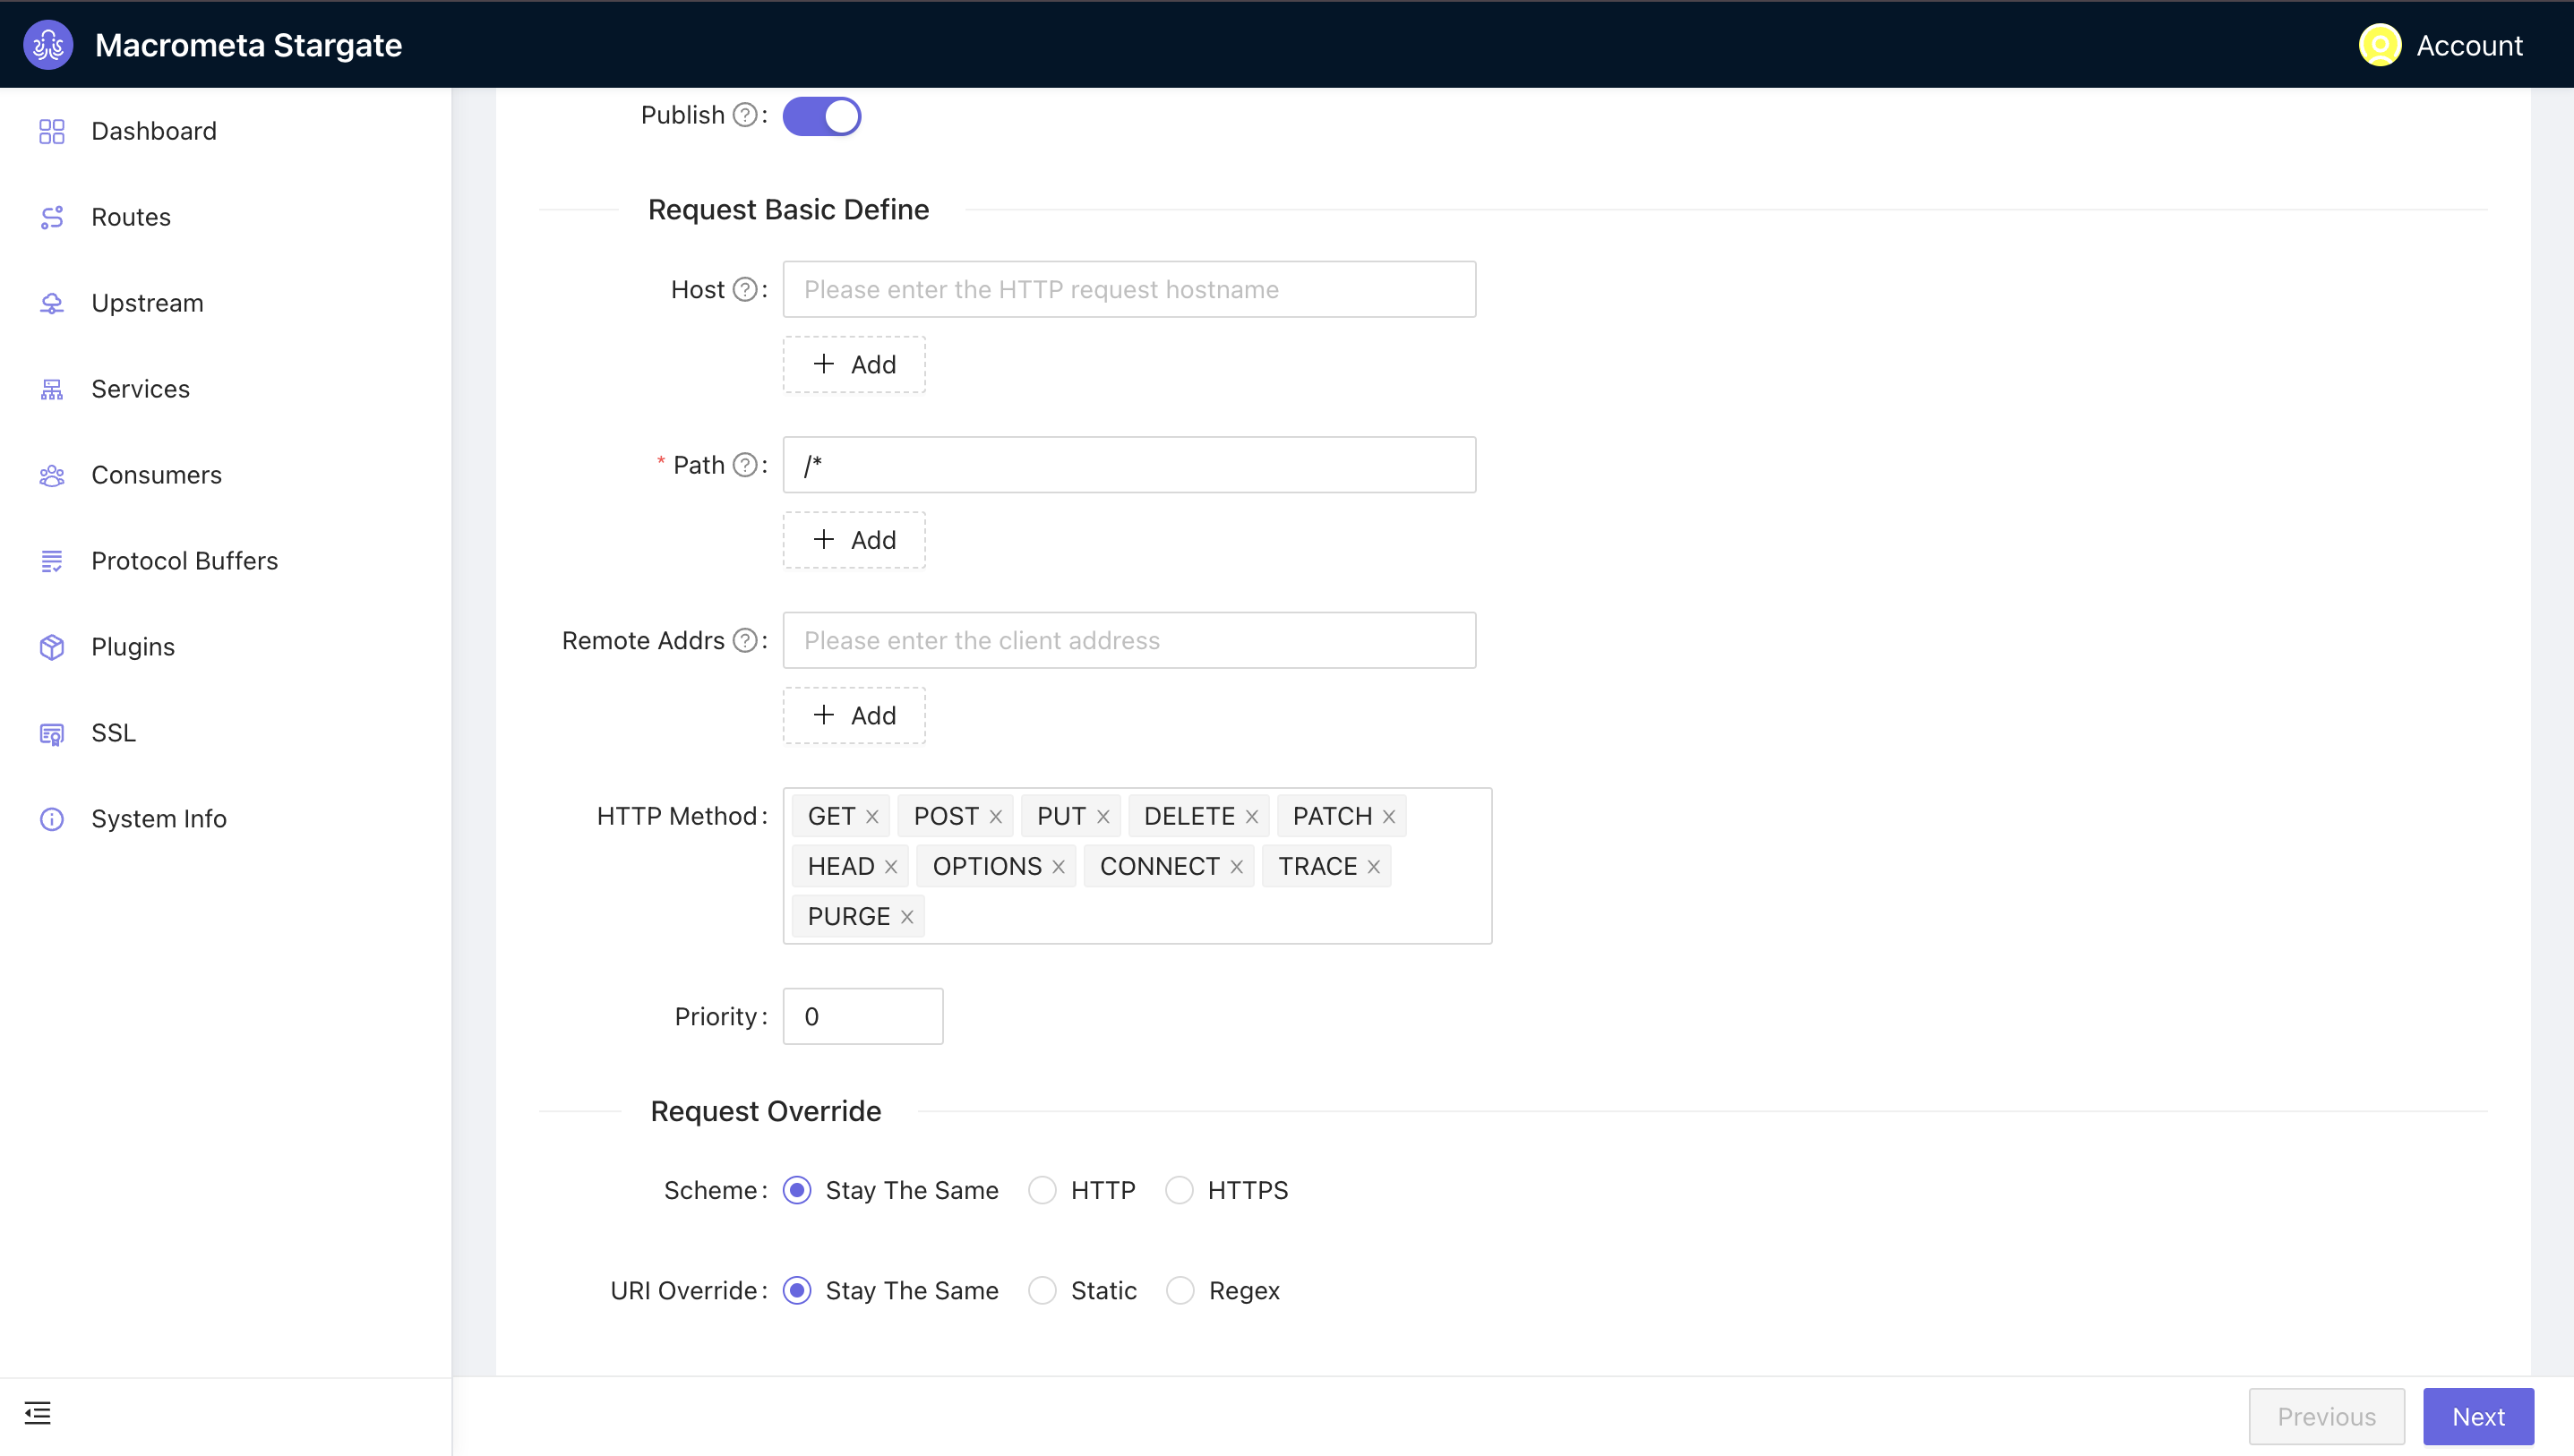 The path
 /*matches against all available paths from the host address.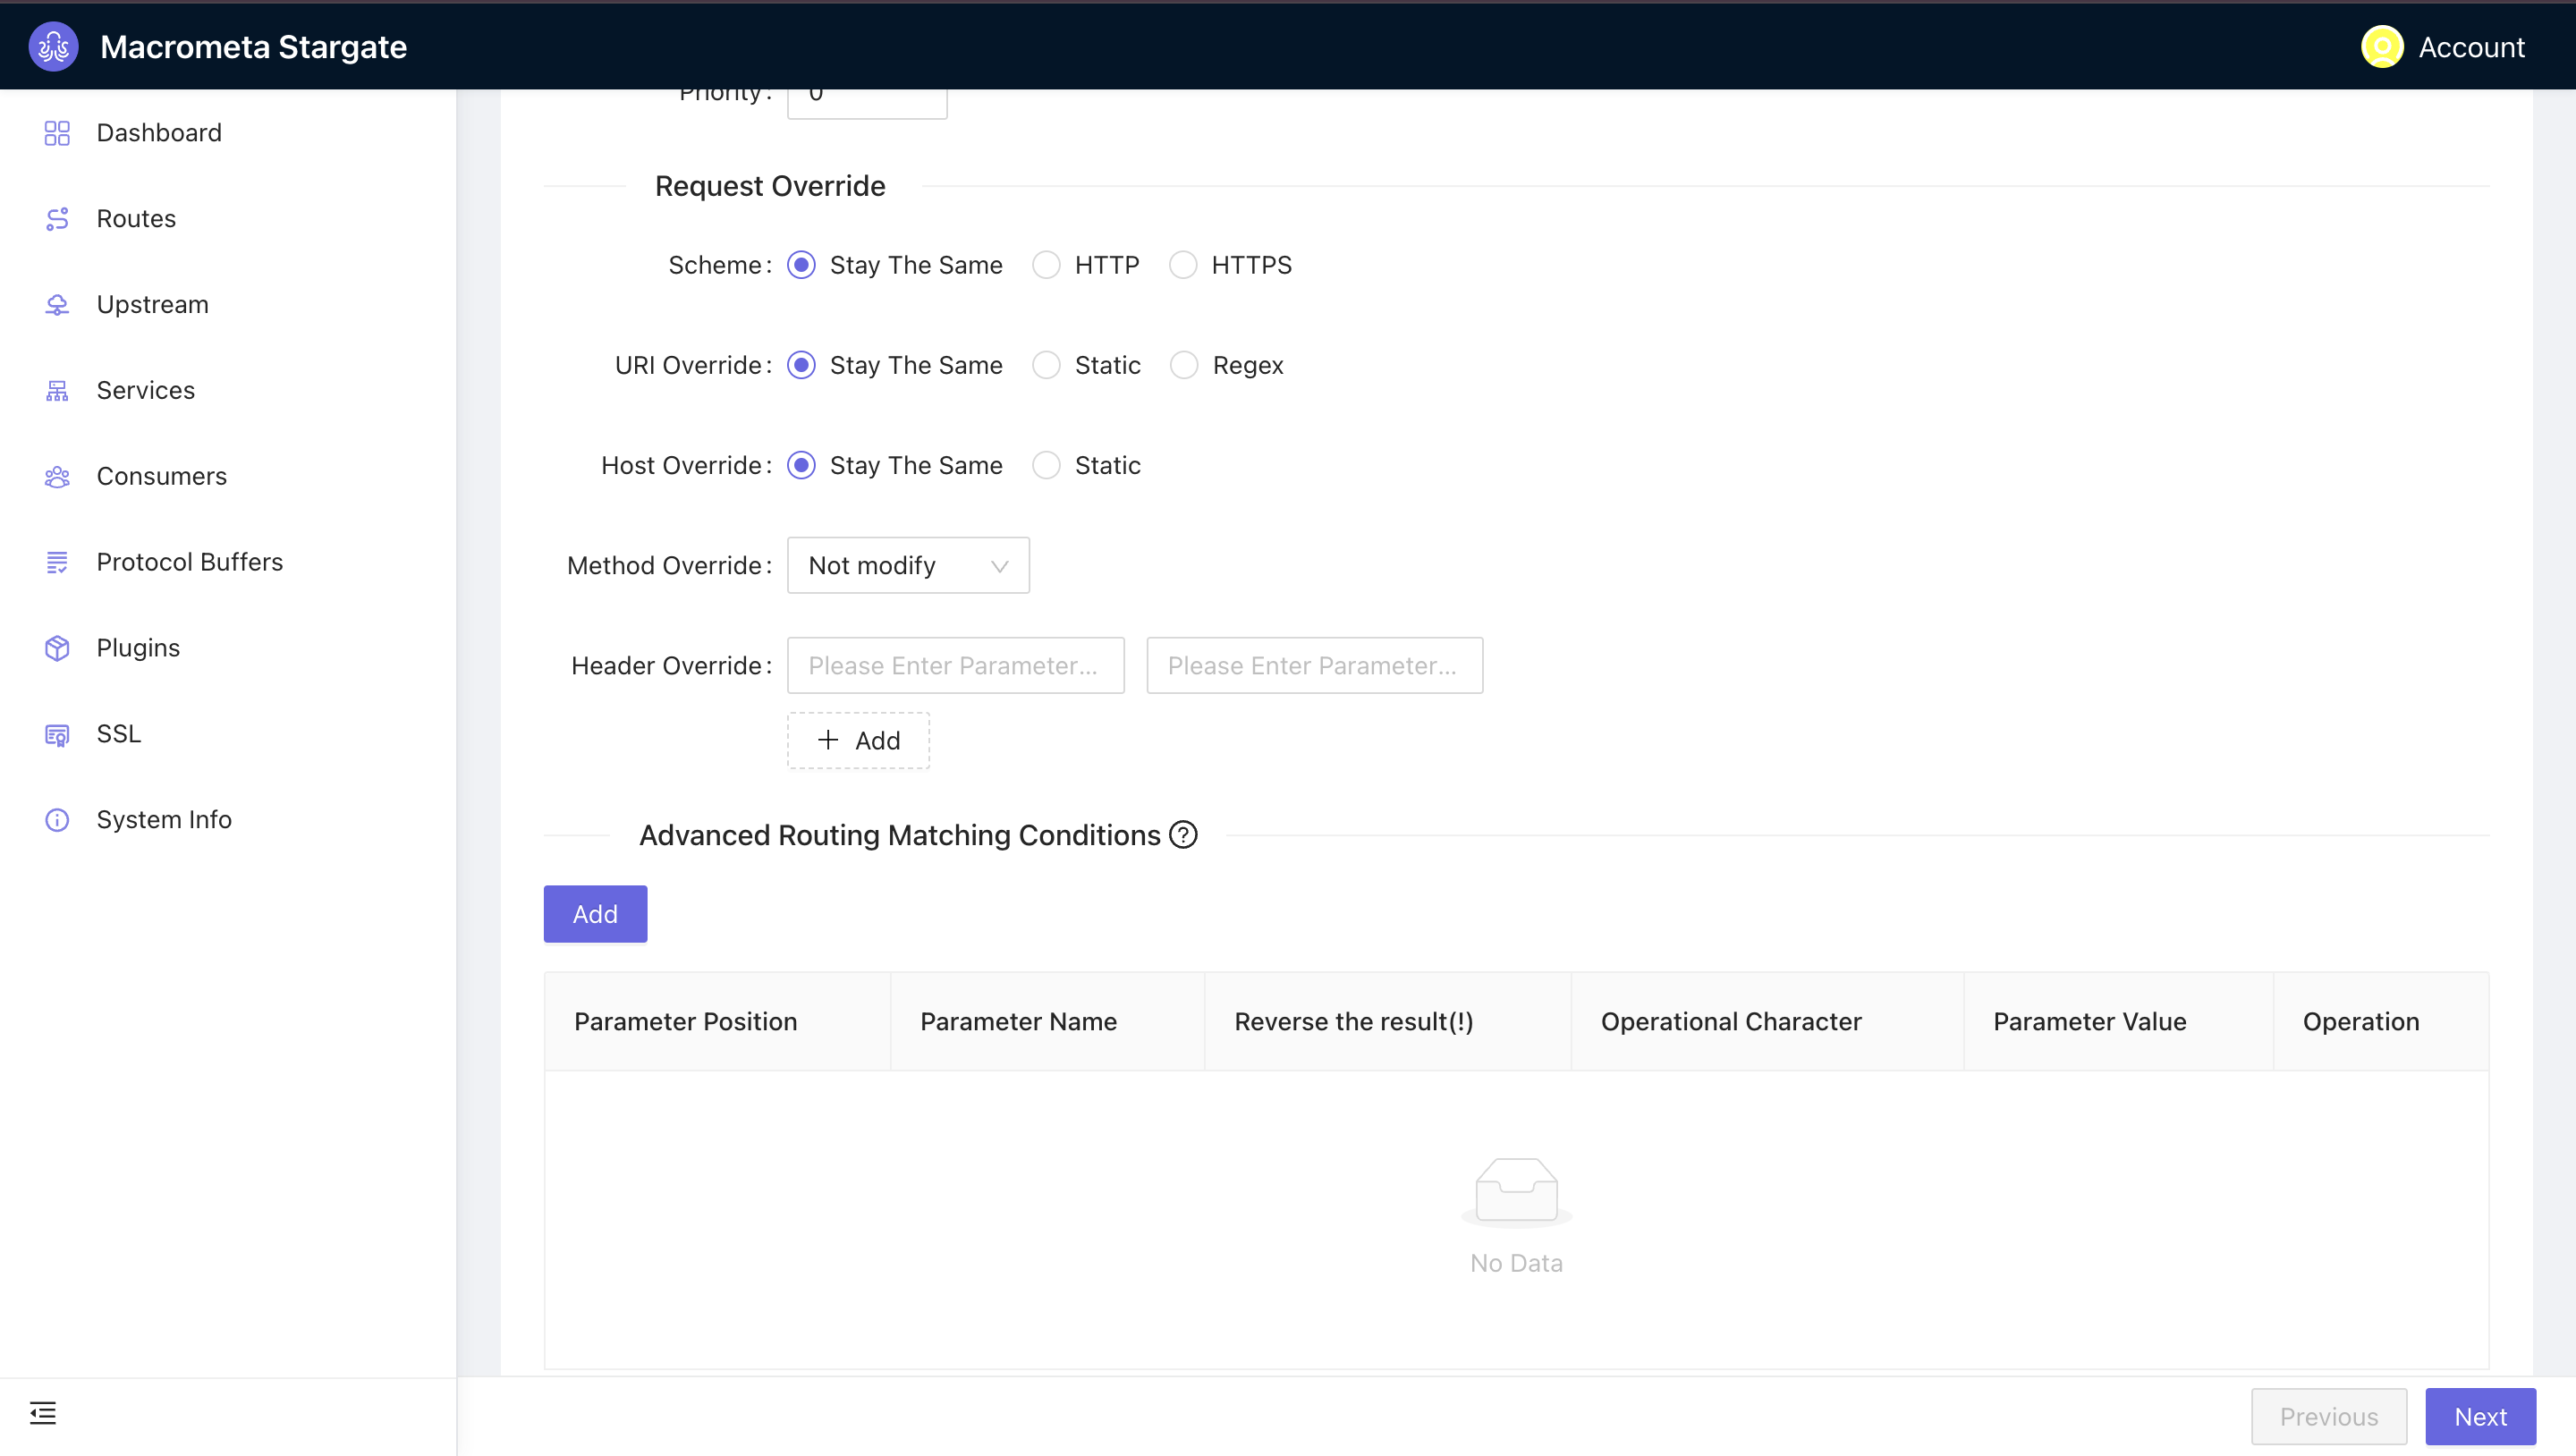
Define API Backend server: Here, you define your upstream configuration. This is the target address for your route. Enter a Target host and port and leave every other field as it is. Our upstream uses the round robin algorithm and nodes. You can add more nodes to help with load balancing. Click Next
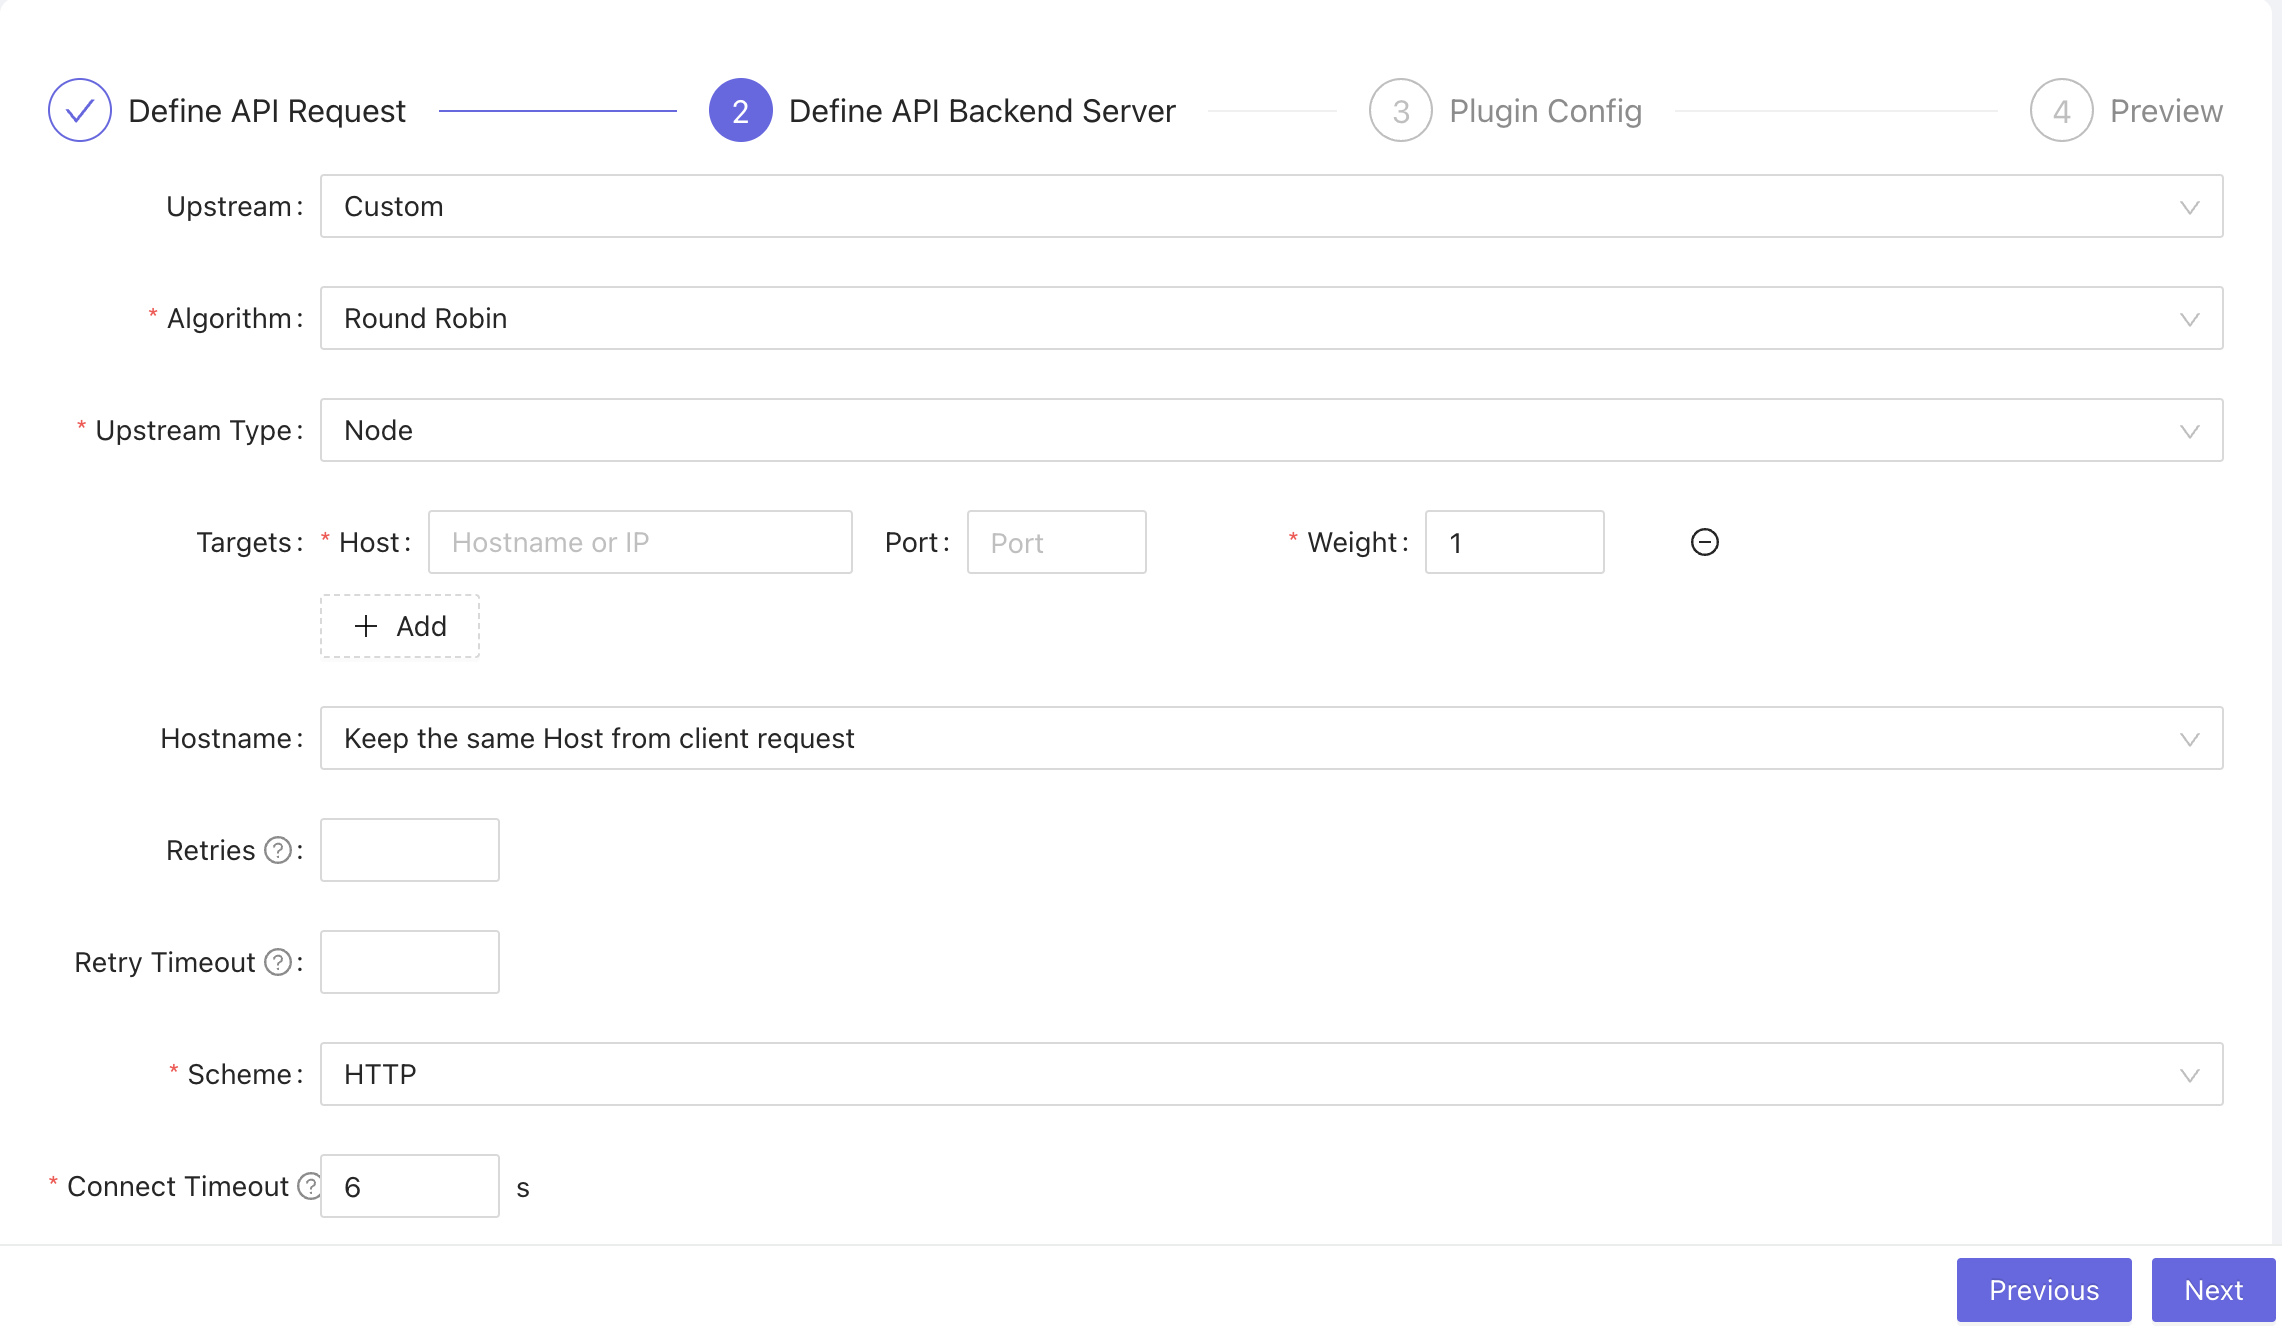 You can enable health check and configure settings for your health check.

Plugin Config: Here, you can enable your desired plugins. The platform offers numerous plugins catering to areas like authentication, security, traffic control, serverless, and observability.
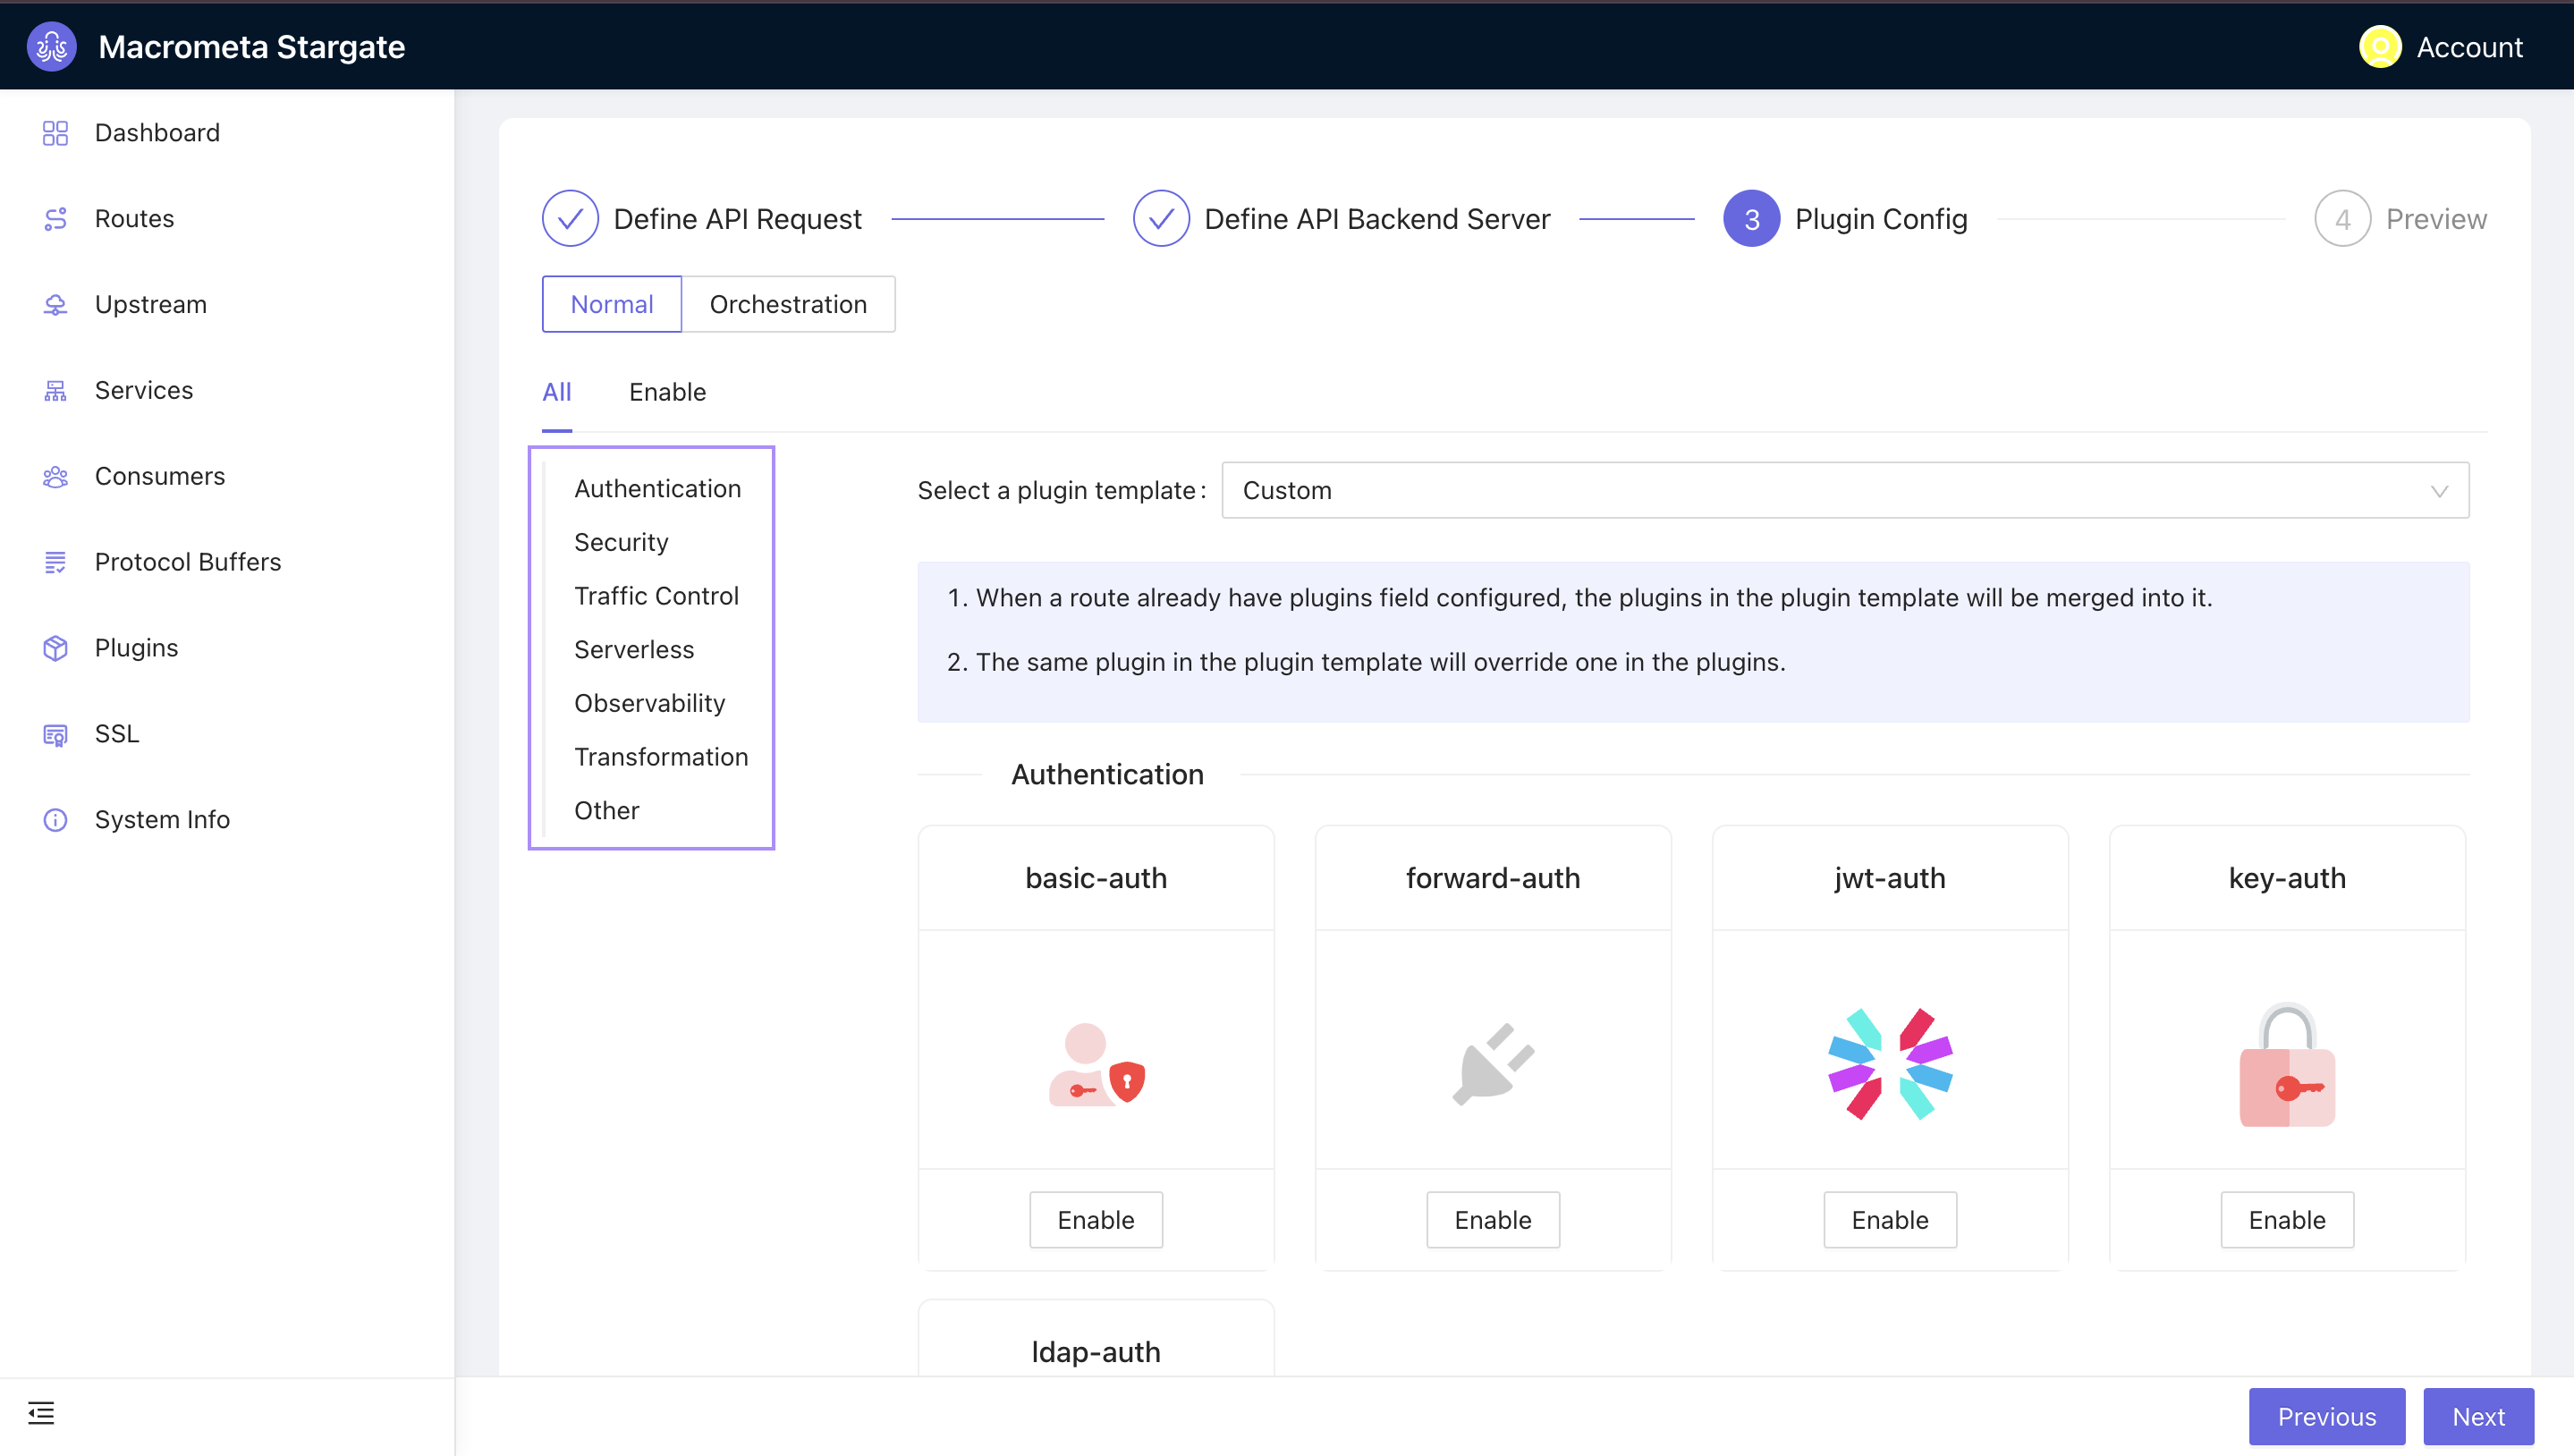 To enable a plugin, navigate to the desired plugin and toggle the slider bar to enable/disable the plugin. Some plugins require configuration, while others, like basic auth, do not.
 Preview: This step allows you go through your configuration from steps 1-3. Click Submit.
Step 2: Set up load balancing
While configuring your route, you also configure your upstream addresses to receive the traffic from the routing gateway. Upstreams uses nodes to distribute traffic almost evenly to prevent overload on a server. You can create a single or multiple nodes for handling traffic.
There are two ways to set up your upstream nodes for load balancing:
- Configure upstream nodes while configuring the route
- Create an upstream object from the dashboard
Here's how to create upstream nodes for load balancing from the dashboard:
- Click Upstream from your dashboard
- Click +Create
- Enter a name for the upstream and the target host and port. For this guide, we created two nodes:
- examplepetstore.com running at 443
- example-pet-store.com with port 443
- Choose an Algorithm and Upstream type. This guide uses the round robin algorithm and a node for the upstream type. Leave other fields empty.
- Click Next. Preview your configurations and click Submit
Test load balancing
Generate 50 simultaneous requests to test the effects of load balancing. Our configuration splits these requests and distributes it almost evenly across our two configured nodes.
Next steps
Now we have our route configured, let's illustrate rate limiting.