Remote Desktop Enviroments
Cloud Workspaces extends its capabilities by offering Virtual Desktop Infrastructure (VDI), giving users remote access to Windows and Linux desktop enviroments. These virtual desktops run on remote servers, ensuring consistent performance regardless of the power or specifications of your local device. They enable you handle resource-heavy tasks even on less powerful machines. Any changes or files created within the virtual desktop are saved in the virtual environment, and depending on your configuration, these changes can persist between sessions, allowing you to resume your work seamlessly.
Cloud Workspaces provides two distinct types of Virtual Desktop Infrastructure (VDI):
Persistent VDI: A persistent VDI retains your user session even after you log out, allowing you to resume your previous session and retain your work progress.
Non-persistent VDI: With non-persistent VDI, logging out of a session terminates that session. A new session is started upon logging back in, and previous session data is not retained.
The remote desktop environment supports the following peripheral devices:
- Keyboard
- Mouse
- Printer
- Camera
- Speaker
Getting started with VDI
Workspace users can access VDI via any of these two methods:
- Universal Client: The universal client allows users to access the remote Windows desktop directly through a web browser. This method improves accessibility, as it is available for all users, regardless of their operating system.
- Native Client: The native client allows you to connect to the remote Windows desktop using RDP client on your Windows machine. This option is exclusively available for Windows devices.
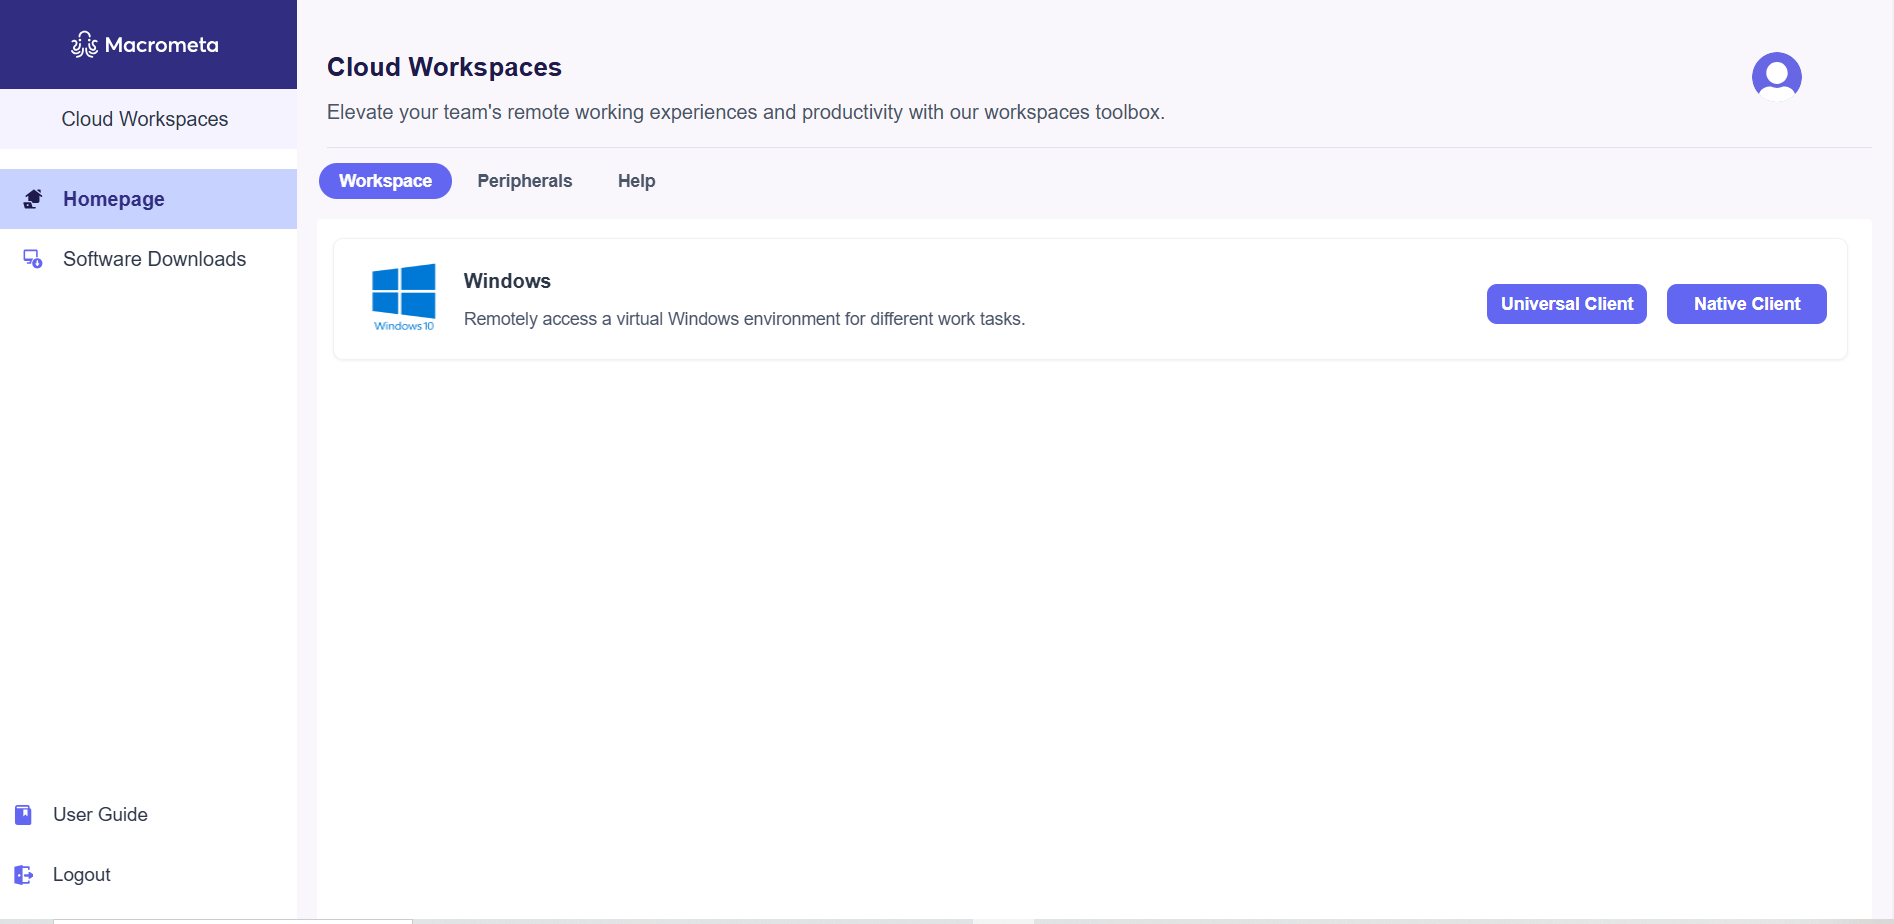
The Universal and Native client are available on Windows devices. However, only the Universal client is available for Linux and Mac devices.
Accessing VDI
After logging into Workspaces, follow these steps to download the VDI installer and connect to your remote desktop environments:
- Access with Universal Client
- Access with Native Client
Navigate to the Workspaces homepage and click Universal Client for Windows.
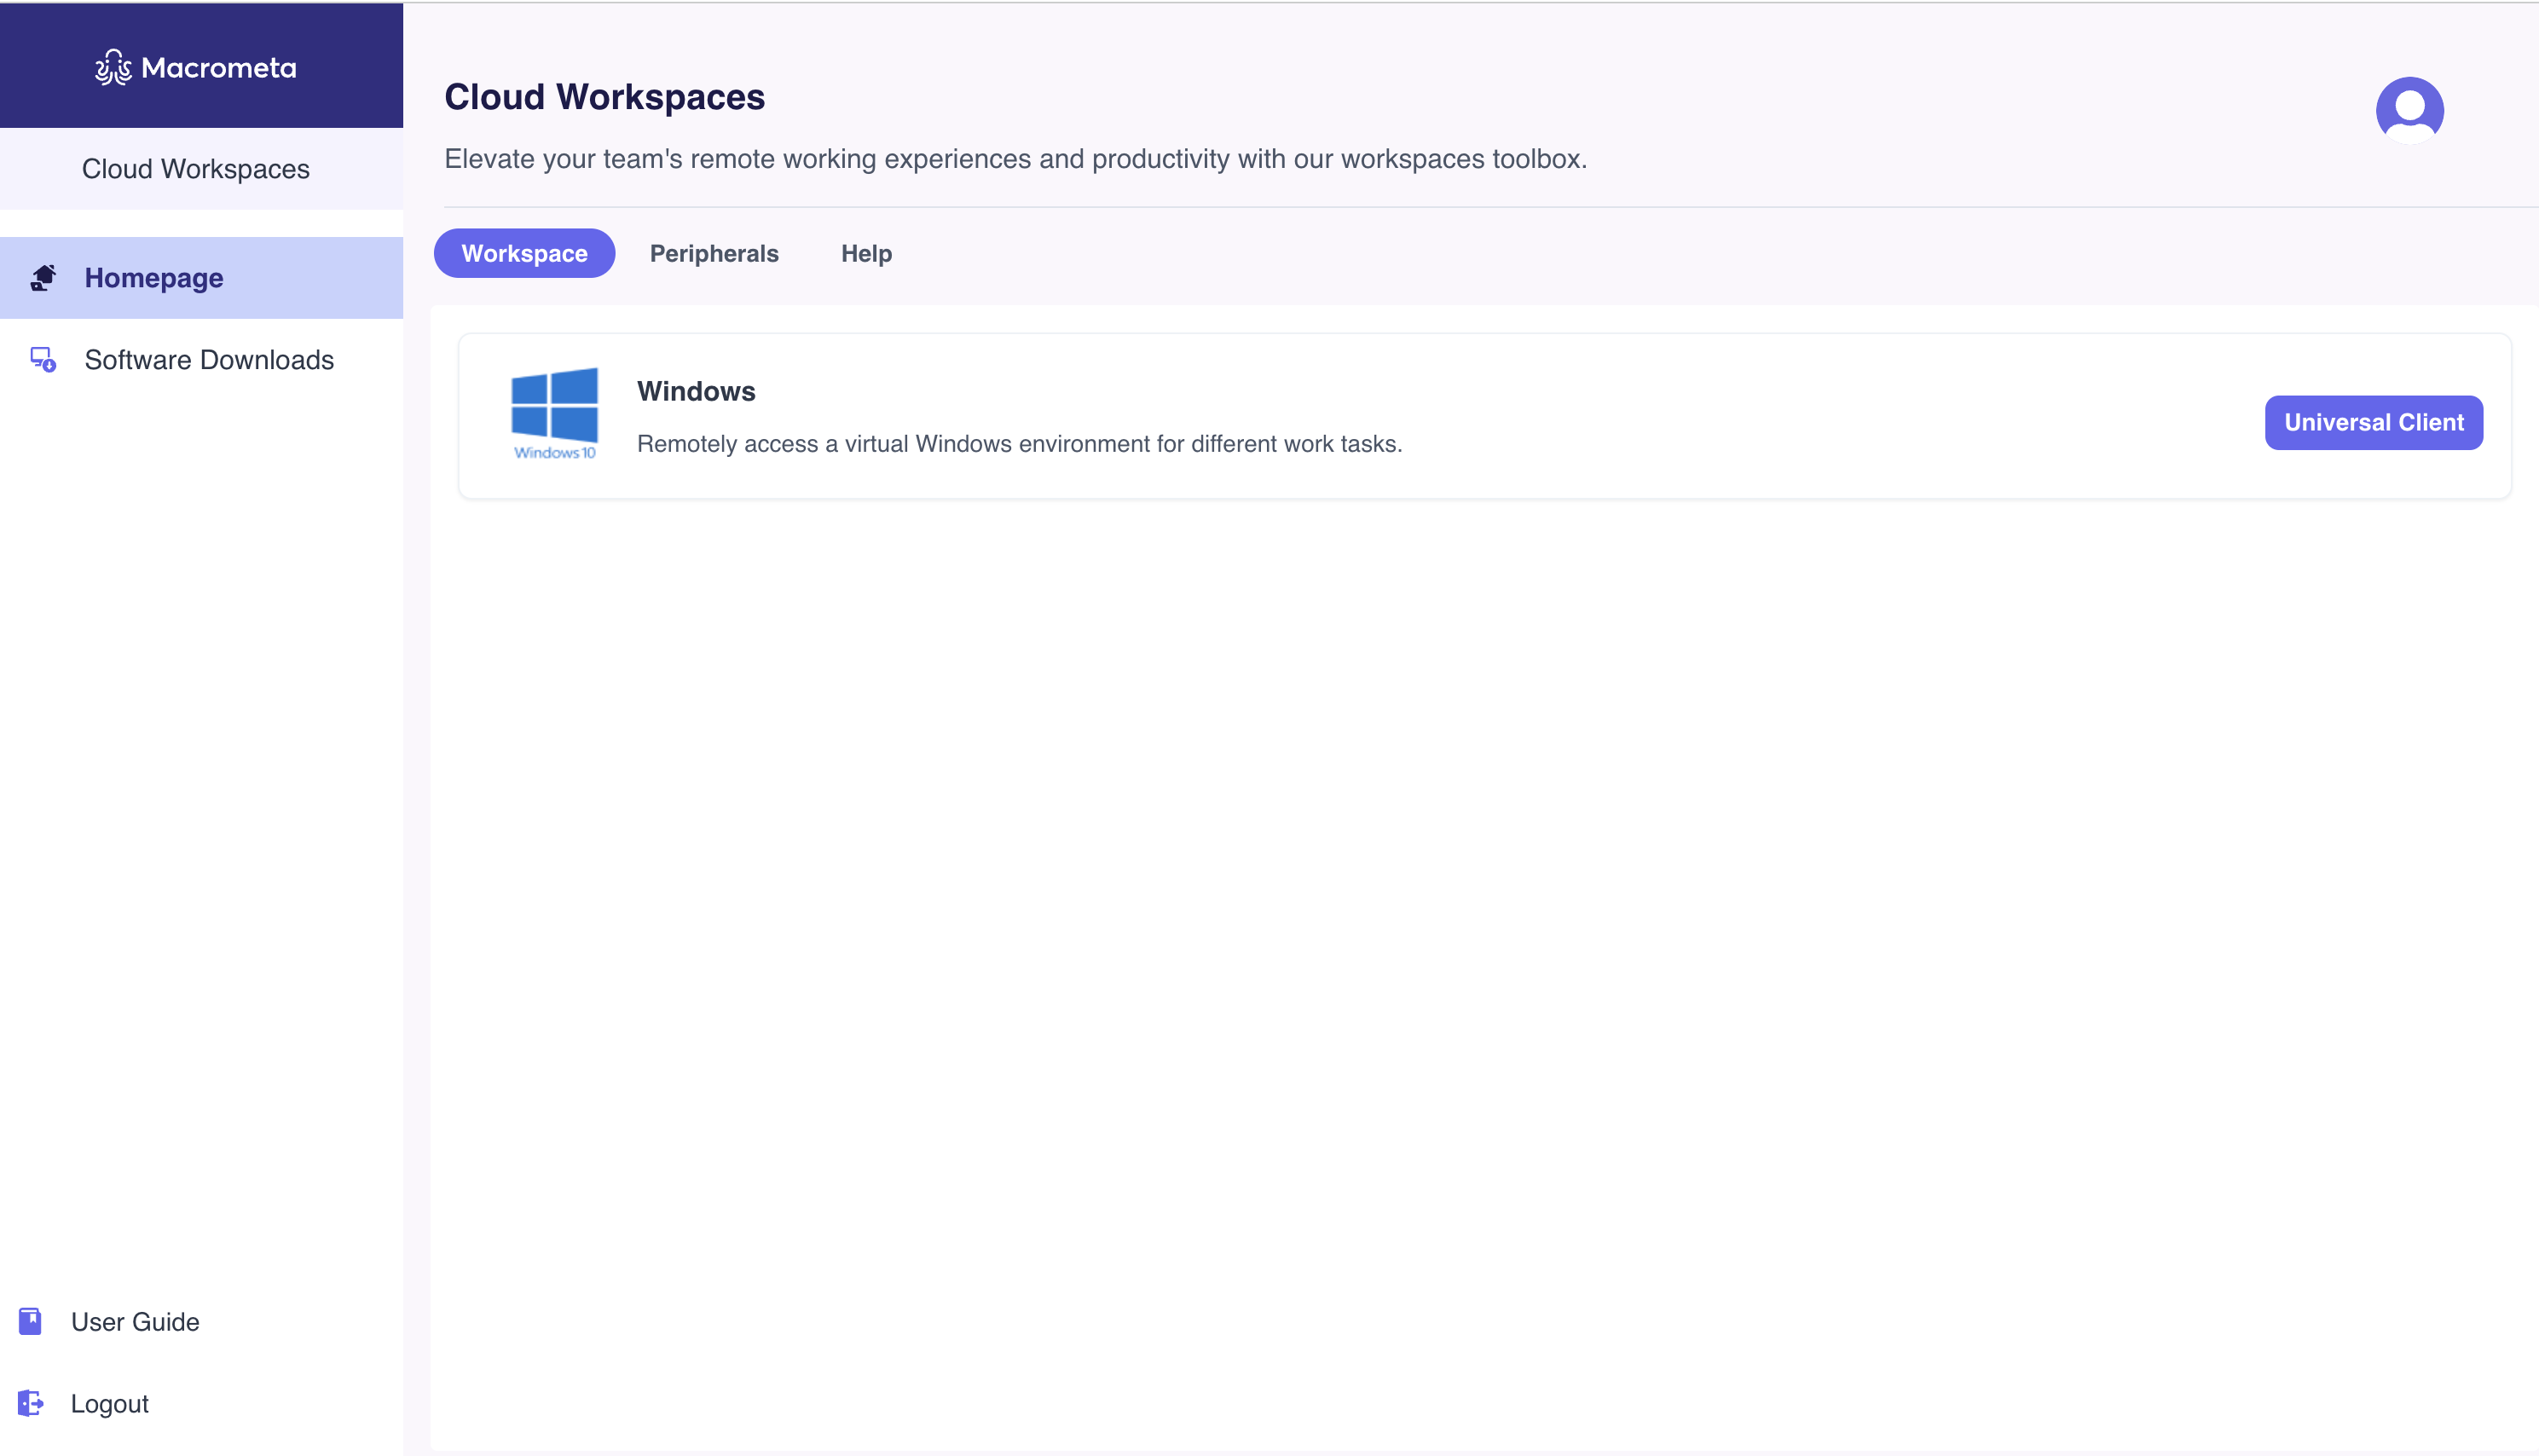
It opens up the VDI in another browser tab as shown below:
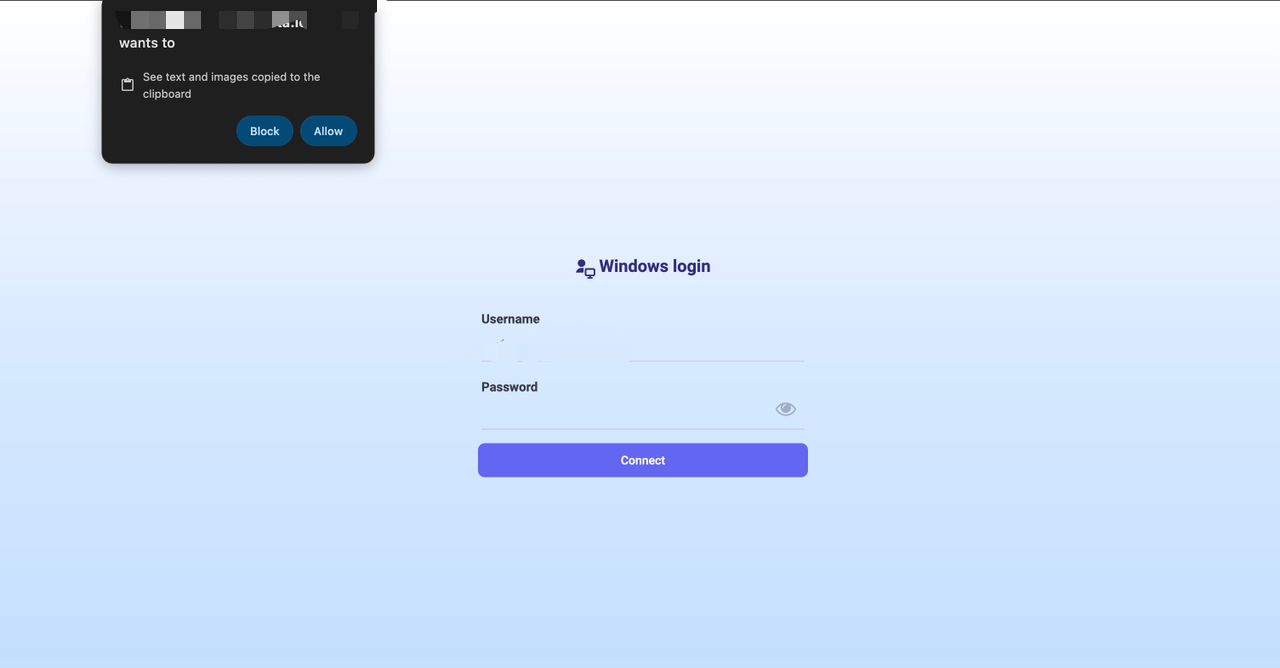
- Click the Allow button to enable clipboard functionality in your VDI.
- If you receive a pop-up blocked notification, you may need to enable pop-ups in your browser settings for the VDI tab to open successfully.
Add your login credentials and click Connect. You now have full access to a remote Windows desktop, enabling you to perform your tasks as if you were working on a local machine.
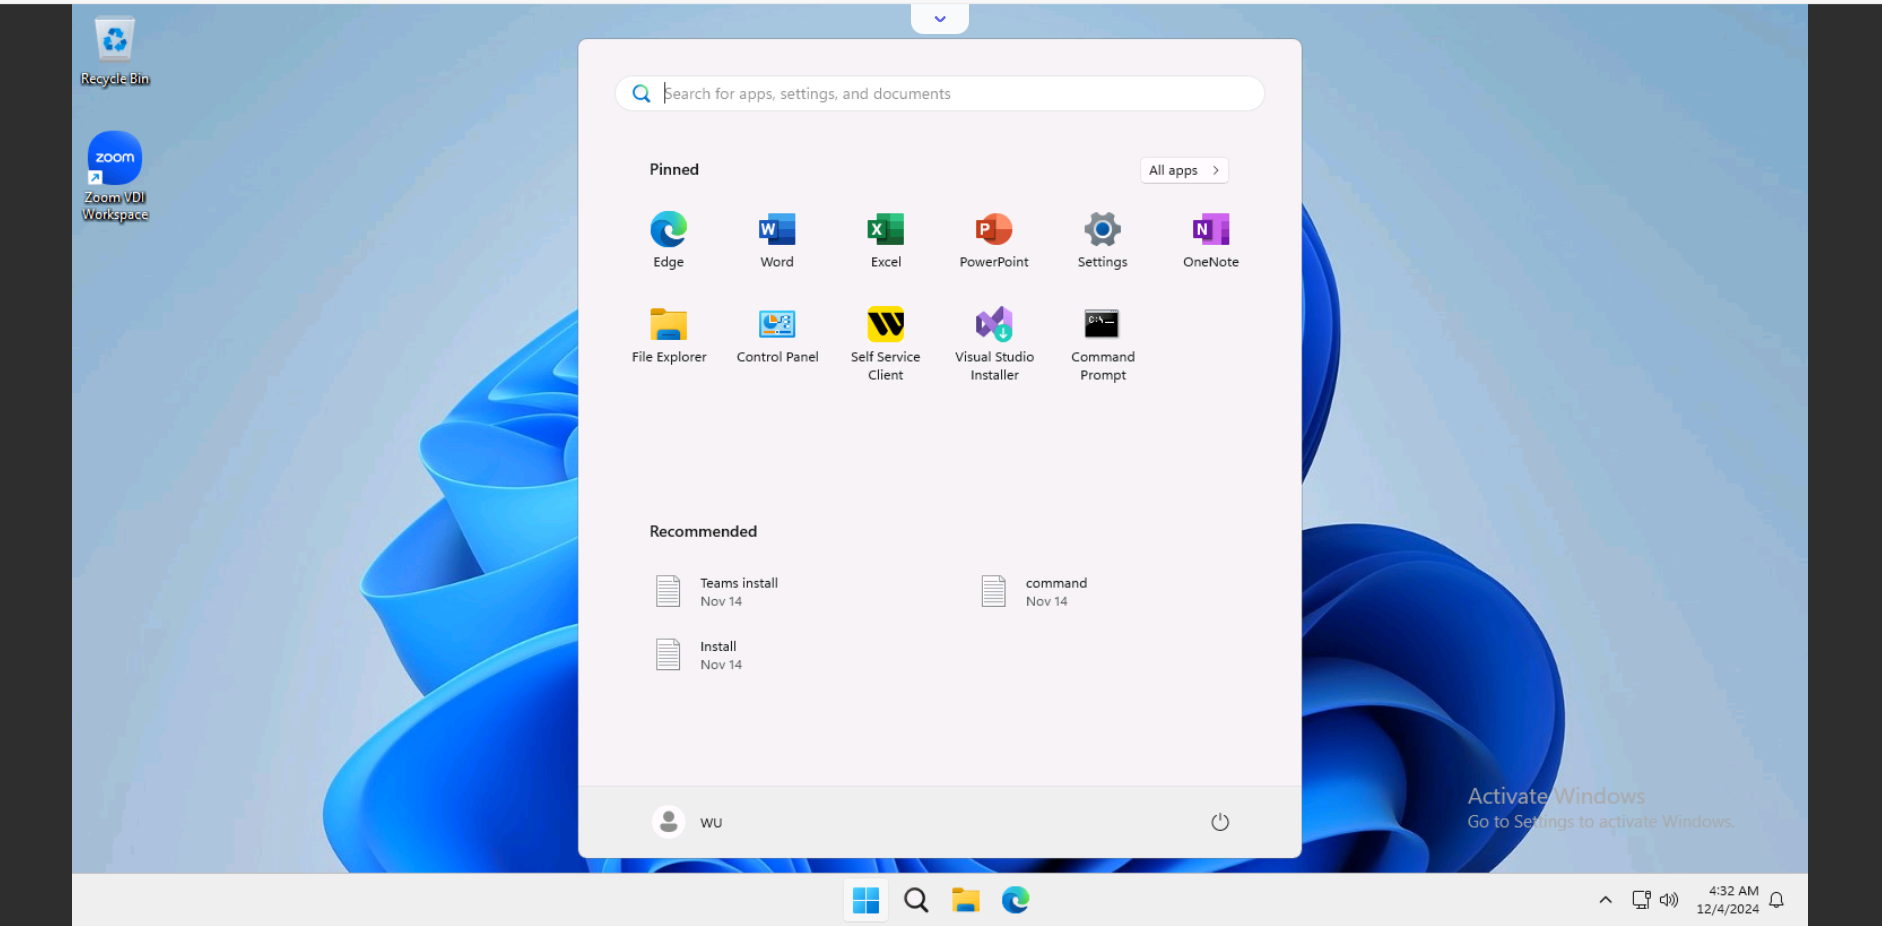
Entering the wrong password twice terminates your VDI session. To reconnect, return to the Workspaces homepage and click the Universal Client button for Windows.
Windows remote desktop menu
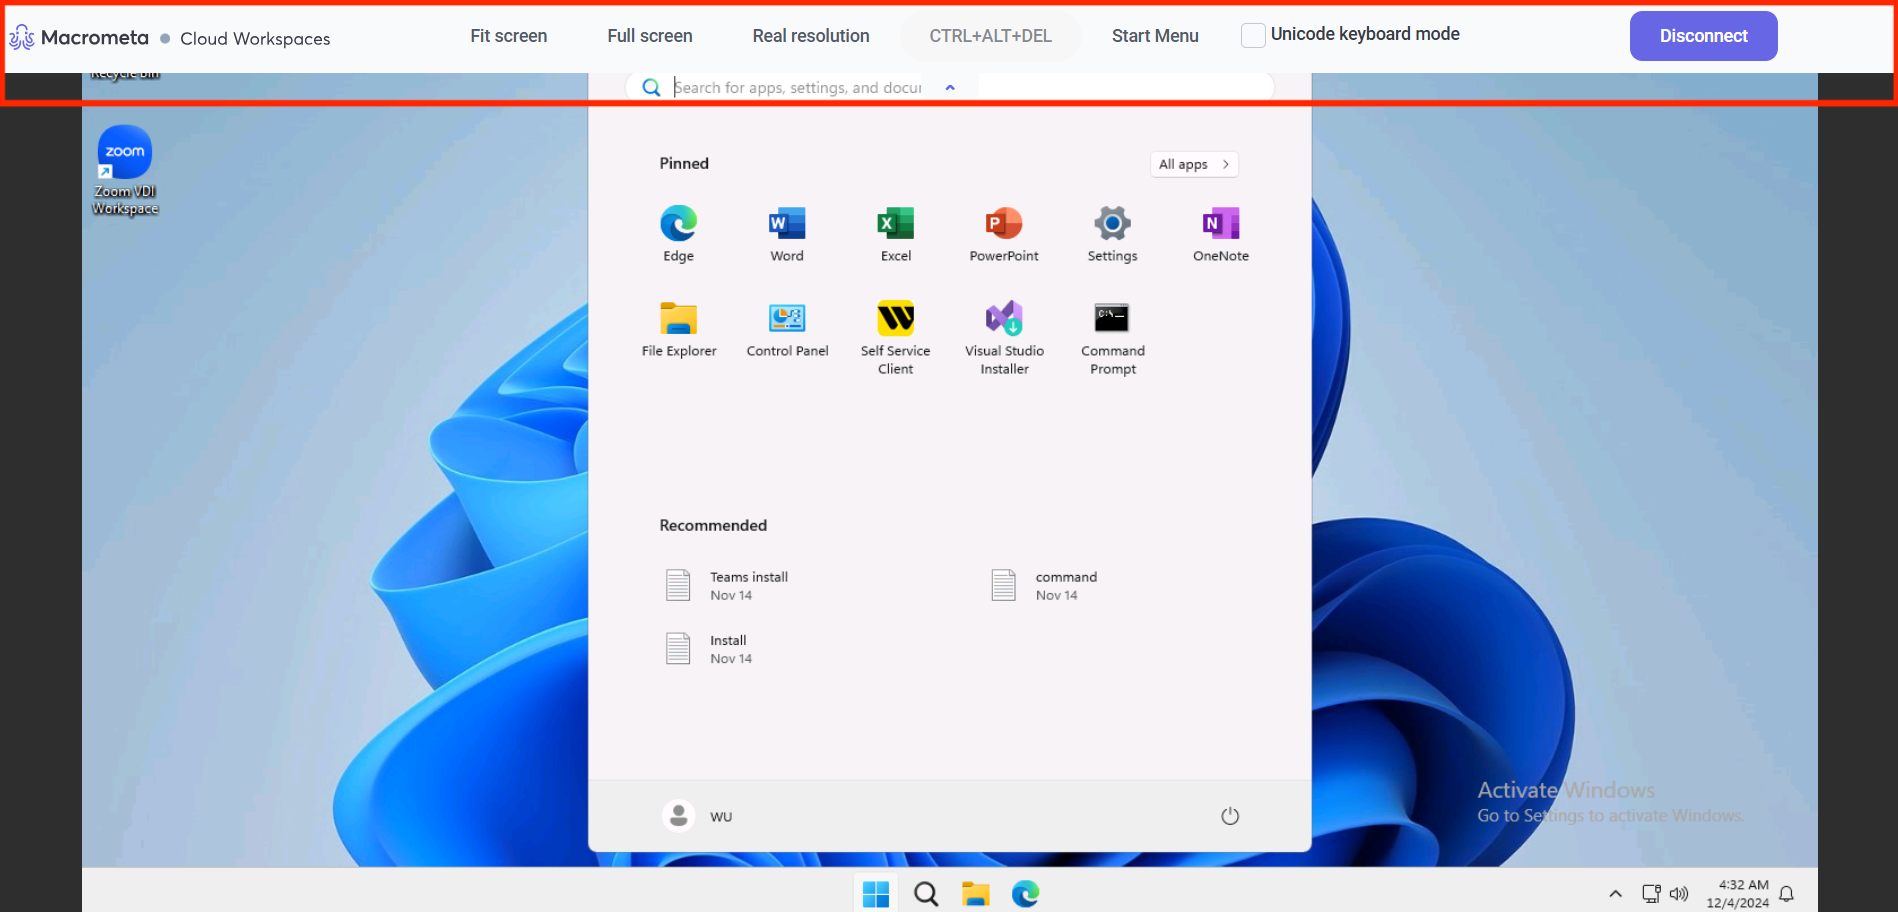
The Windows remote desktop interface for VDI on the universal client provides essential control options to enhance your user experience and manage your session effectively. To access the menu, click the dropdown icon at top of the screen:
Display
- Fit: Adjusts the screen display to fit within some dimensions of your local screen.
- Full: Expands the remote desktop to utilize your full screen, maximizing workspace.
- Real: Displays the remote desktop at its native resolution, allowing for detailed viewing.
Ctrl+Alt+Del: Opens a menu with account management and security options, including:
- Lock: Secure your session.
- Sign Out: Log out of the Windows session.
- Change Password: Update your account password.
- Task Manager: Access the Task Manager to monitor and manage running applications and processes.
Meta icon: Displays the Windows Start menu, providing quick access to applications and system settings.
Toggle cursor kind: Switch between different cursor types to suit your preferences or specific applications.
Terminate session: Closes the remote desktop session, ending your current connection to the virtual desktop safely.
These options help customize your remote desktop experience, manage your session, and navigate the Windows environment efficiently.
Go to the Software Downloads page and click the Download button for Virtual Desktop Interface to get the VDI installer.
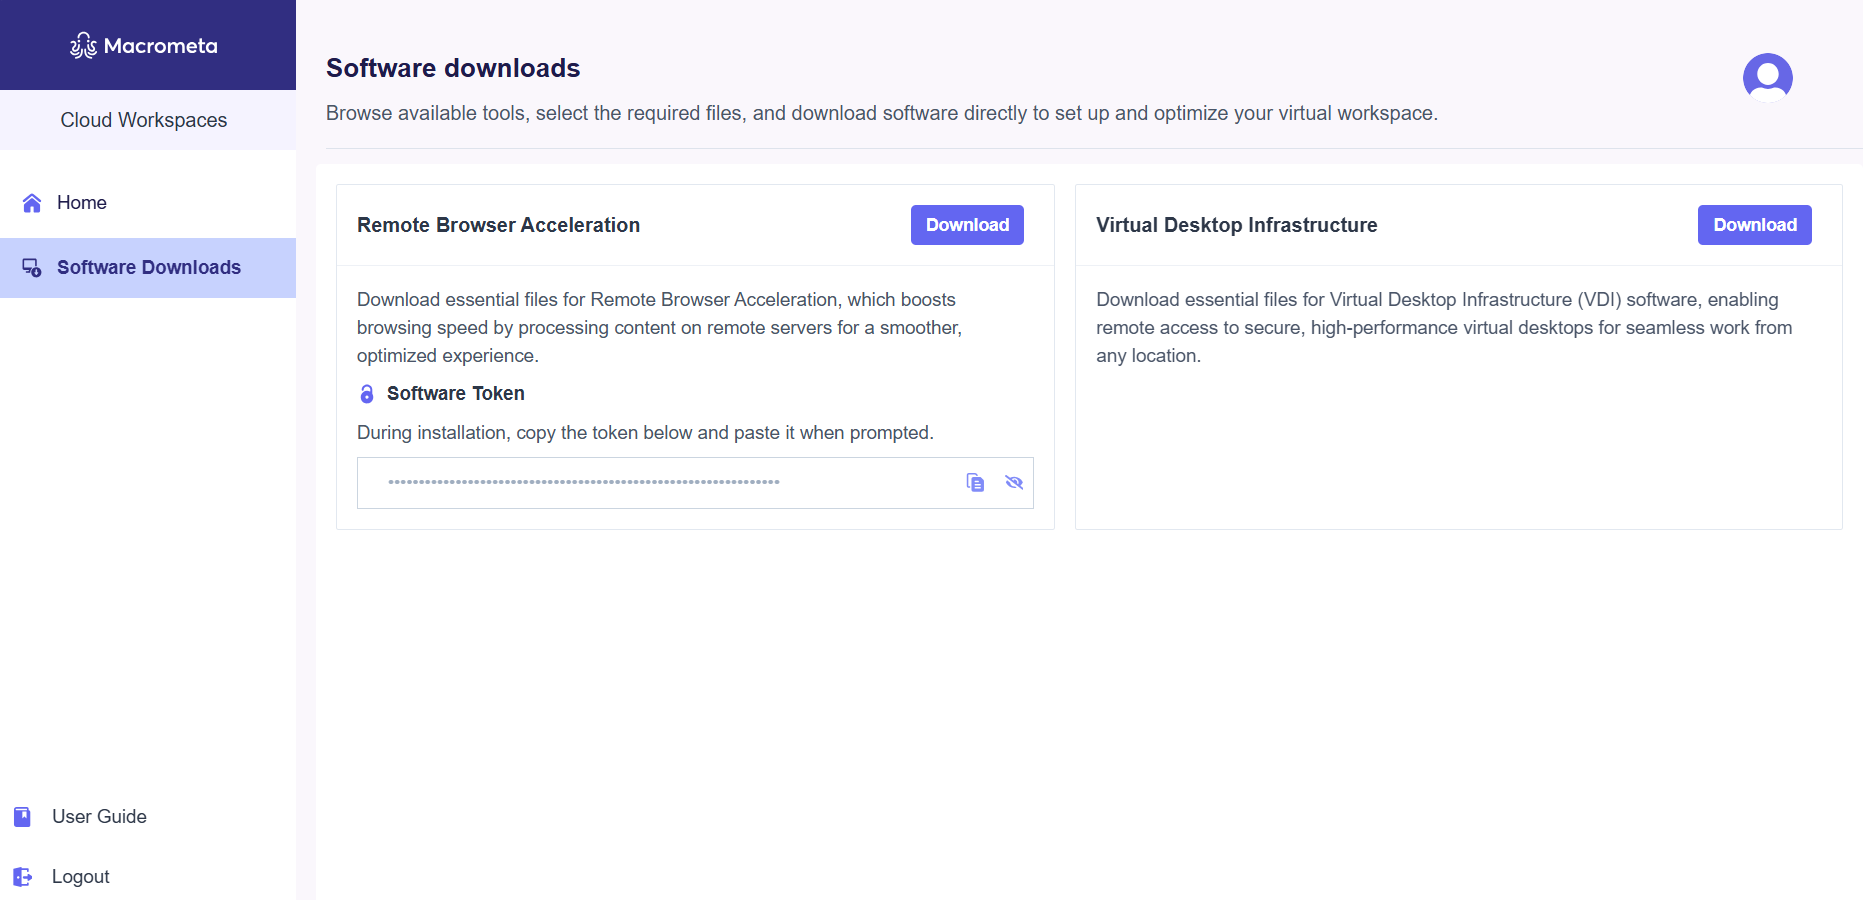
Run the downloaded file and follow the installation prompts.
Once the installation is complete, click Finish.
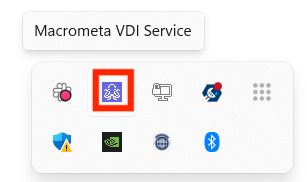
After a successful installation, you'll see the Macrometa VDI Service icon in the system tray.
To begin using the remote Windows desktop via the native client:
Open the Workspaces homepage and click the Native Client button for Windows.

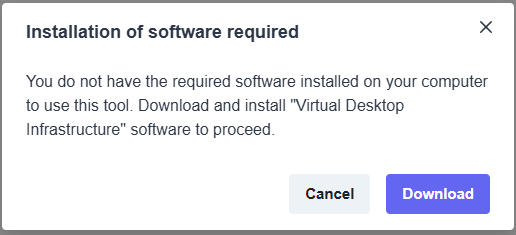
If the installer is not already downloaded, it will prompt you to download and install the VDI installer.
If prompted, select Open Windows PowerShell from the browser pop-up to proceed.
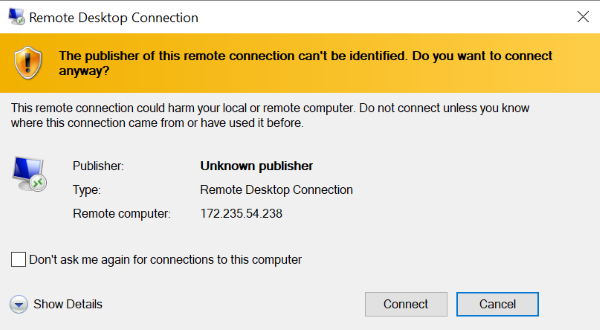
A Remote Desktop Connection window will appear. Click Connect to initiate the connection.
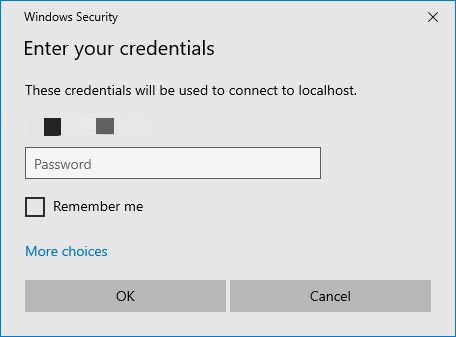
Enter your VDI password when prompted for login credentials and click OK to connect. If needed, click More choices to specify a different username and password.
If you get any warning to proceed despite any certificate errors, Click Yes.
Upon successful authentication, the remote Windows desktop launches in your RDP client.
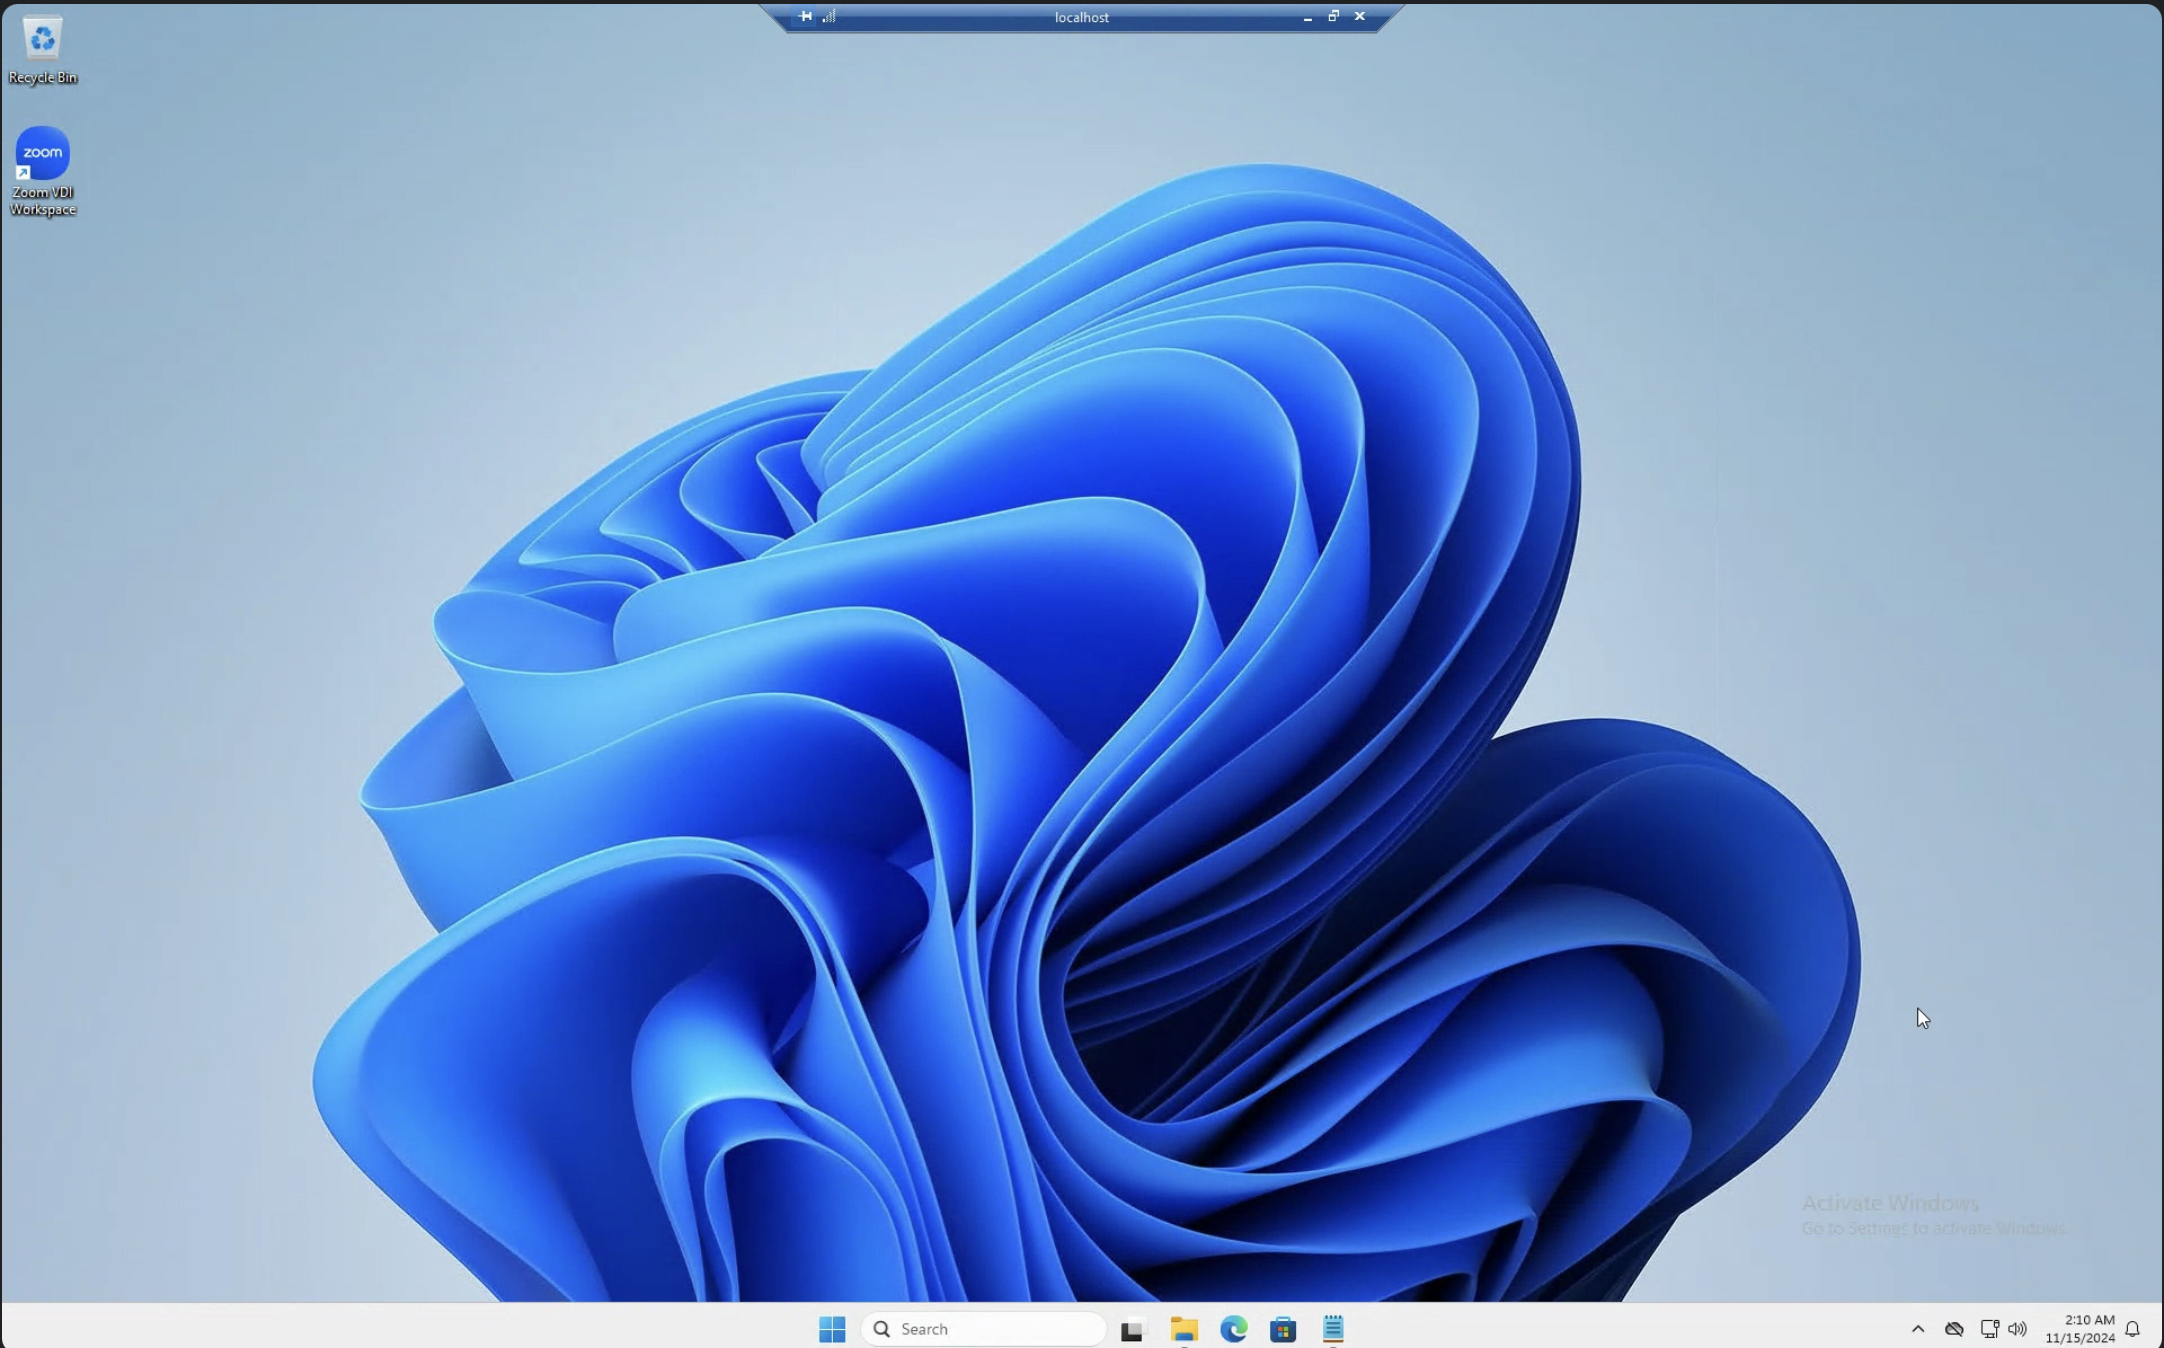
To terminate the session,
- Click the X (close) button from the top of the RDP client screen.
- A prompt will inform you that your remote session will be disconnected. Click OK to confirm.
From this point, you can begin your work just as you would on a local machine. Launch applications, access files, use the terminal or browser, configure your settings - all within the secure confines of your browser tab.